Just how many bosses can you find in Elden Ring: Nightreign?Elden Ring was famous for the sheer number of bosses it packed into its open world, and while Nightreign occupies an entirely different format, you may be surprised at just how many familiar faces you can find within Limveld. Base Elden Ring: Nightreign features 119 bosses, and The Forsaken Hollows DLC adds 10 extra bosses for a grand total of 129.
If you're looking to track down every last boss in the game, you've come to the right place. In this guide, we've compiled a comprehensive list of all 129 bosses in Nightreign, including both The Forsaken Hollows bosses and the online-only Everdark Sovereigns, with descriptions and details on when and how to find them, what to expect when facing them, and the full list of weaknesses for each Nightlord.
Bosses in Elden Ring: Nightreign can be separated into six categories. First are the Nightlords - these are the big bosses, the ones you face at the very end of each Expedition, and your overall goal in Nightreign. You can unlock more powerful Everdark Sovereign variants of each Nightlord in Nightreign's base game by beating the regular variant at least once. The Forsaken Hollows bosses, meanwhile, can only be accessed if you own the DLC and have unlocked The Great Hollow Shifting Earth.
Next are the various "End Of Night" bosses you'll encounter at the ends of Day 1 and Day 2. These are less powerful, but still likely more of a challenge than anything else you'll find on the Limveld map. Each Expedition type (Tricephalos, Gaping Jaw, etc.) has its own pool of possible Night 1 and Night 2 bosses to face, so you'll need to try all the Expeditions to track down every boss.
Beyond this, there's a long line of Field Bosses. This group includes anything you'll naturally encounter while exploring Limveld. Many of them will be found at points of interest, while other particularly powerful ones are found roaming certain less notable areas of the map, and will be marked at the beginning of Day 2 with a "Formidable Great Enemy" skull icon on the map. Most of these bosses will drop powerful instanced rewards which allow each member of your team to choose one reward from a list of options.
There are also occasional Raid bosses, which will invade your world on the odd run. These bosses are usually very tough (they're often lesser versions of Nightlords), and if you manage to beat them, you get a stat bonus of some sort for the rest of your run; but if you die to them, then you incur a penalty for the rest of your run instead. And finally, there are a few Special bosses which you'll only encounter during specific Remembrance quests for the various Nightfarers in the Roundtable Hold.
Below you'll find the full list of every single boss in Elden Ring: Nightreign, ordered by type. Scroll further down for descriptions and info on every single boss in the game!
Night-Swallowed Golden Hippopotamus (Recluse Remembrance)
Corrosion (Revenant Remembrance)
Contaminant (Revenant Remembrance)
Stray Bloodhound Knight (Executor Remembrance)
Executor's Cry (Executor Remembrance)
All Nightlords
Gladius, Beast Of Night (Tricephalos)
Image credit: Rock Paper Shotgun/Bandai Namco
Type
Nightlord
Night 1 Bosses
Bell Bearing Hunter, Demi-Humans
Night 2 Bosses
Fell Omen, Tree Sentinel
Key Weakness
Holy
Image credit: Rock Paper Shotgun/Bandai Namco
Image credit: Rock Paper Shotgun/Bandai Namco
Image credit: Rock Paper Shotgun/Bandai Namco
Image credit: Rock Paper Shotgun/Bandai Namco
Image credit: Rock Paper Shotgun/Bandai Namco
Image credit: Rock Paper Shotgun/Bandai Namco
Image credit: Rock Paper Shotgun/Bandai Namco
Image credit: Rock Paper Shotgun/Bandai Namco
Image credit: Rock Paper Shotgun/Bandai Namco
Image credit: Rock Paper Shotgun/Bandai Namco
+0%
-50%
+0%
+35%
252
541
541
252
154
-
Gladius is the first Nightlord you'll face, and you need to defeat it once before you can unlock the other Nightlords. The Beast Of Night is a large, fast, and powerful three-headed dog who attacks with fierce bite combos, as well as by swinging a blade on the end of a very long chain. That chain gives Gladius some serious range, so you can't afford to be complacent while fighting this foe - you're rarely out of harm's way in its arena. At around 75% health remaining, Gladius will enter a temporary second phase where it splits into three separate dogs, all of which roughly have the same moveset as the combined Gladius. The main dog retains use of the chain blade, and barks orders to the other two, inciting them to relentlessly charge and harry Nightfarers.
Adel, Baron Of Night (Gaping Jaw)
Image credit: Rock Paper Shotgun/Bandai Namco
Type
Nightlord
Night 1 Bosses
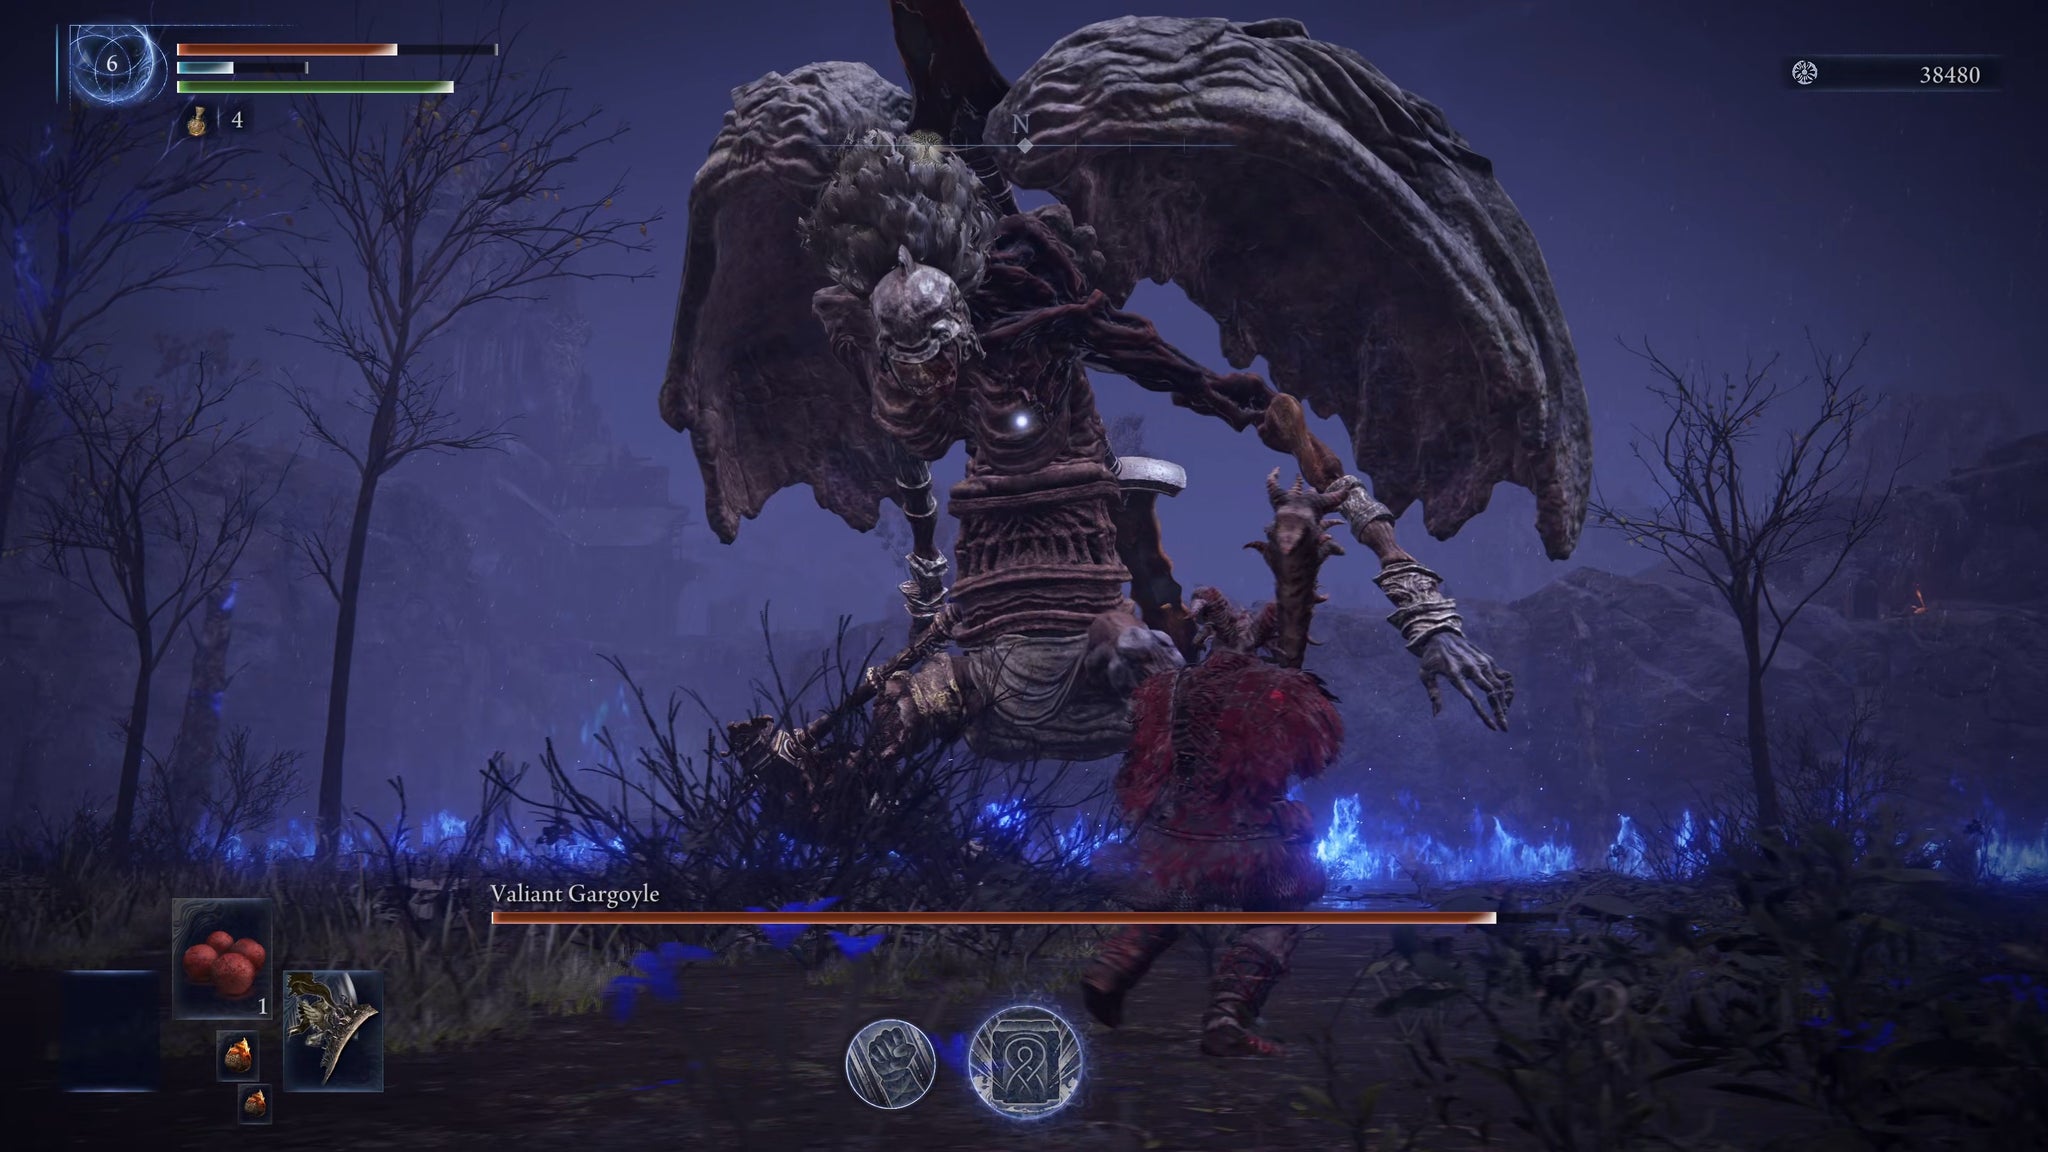
Night's Cavalry x2, Valiant Gargoyle, Wormface
Night 2 Bosses
Ancient Dragon, Crucible Knight/Golden Hippopotamus, Outland Commander
Key Weakness
Poison
Image credit: Rock Paper Shotgun/Bandai Namco
Image credit: Rock Paper Shotgun/Bandai Namco
Image credit: Rock Paper Shotgun/Bandai Namco
Image credit: Rock Paper Shotgun/Bandai Namco
Image credit: Rock Paper Shotgun/Bandai Namco
Image credit: Rock Paper Shotgun/Bandai Namco
Image credit: Rock Paper Shotgun/Bandai Namco
Image credit: Rock Paper Shotgun/Bandai Namco
Image credit: Rock Paper Shotgun/Bandai Namco
Image credit: Rock Paper Shotgun/Bandai Namco
+0%
-20%
-50%
+0%
541
154
154
154
154
-
Adel, Baron Of Night is a giant reptilian Nightlord with a set of massive horizontal jaws that it uses to charge and scoop prey into its mouth. Found at the end of the Gaping Jaw Expedition, its greatest strength is its chaotic movements, which are akin to that of a Magma Wyrm. Poison is its weakness, and will prompt a unique interaction where Adel will stop charging and throw up its stomach contents, making this a fantastic time to deal consistent and safe damage. The true test comes at 50% HP, where Adel will start to utilise powerful lightning-infused jump attacks with a large area-of-effect.
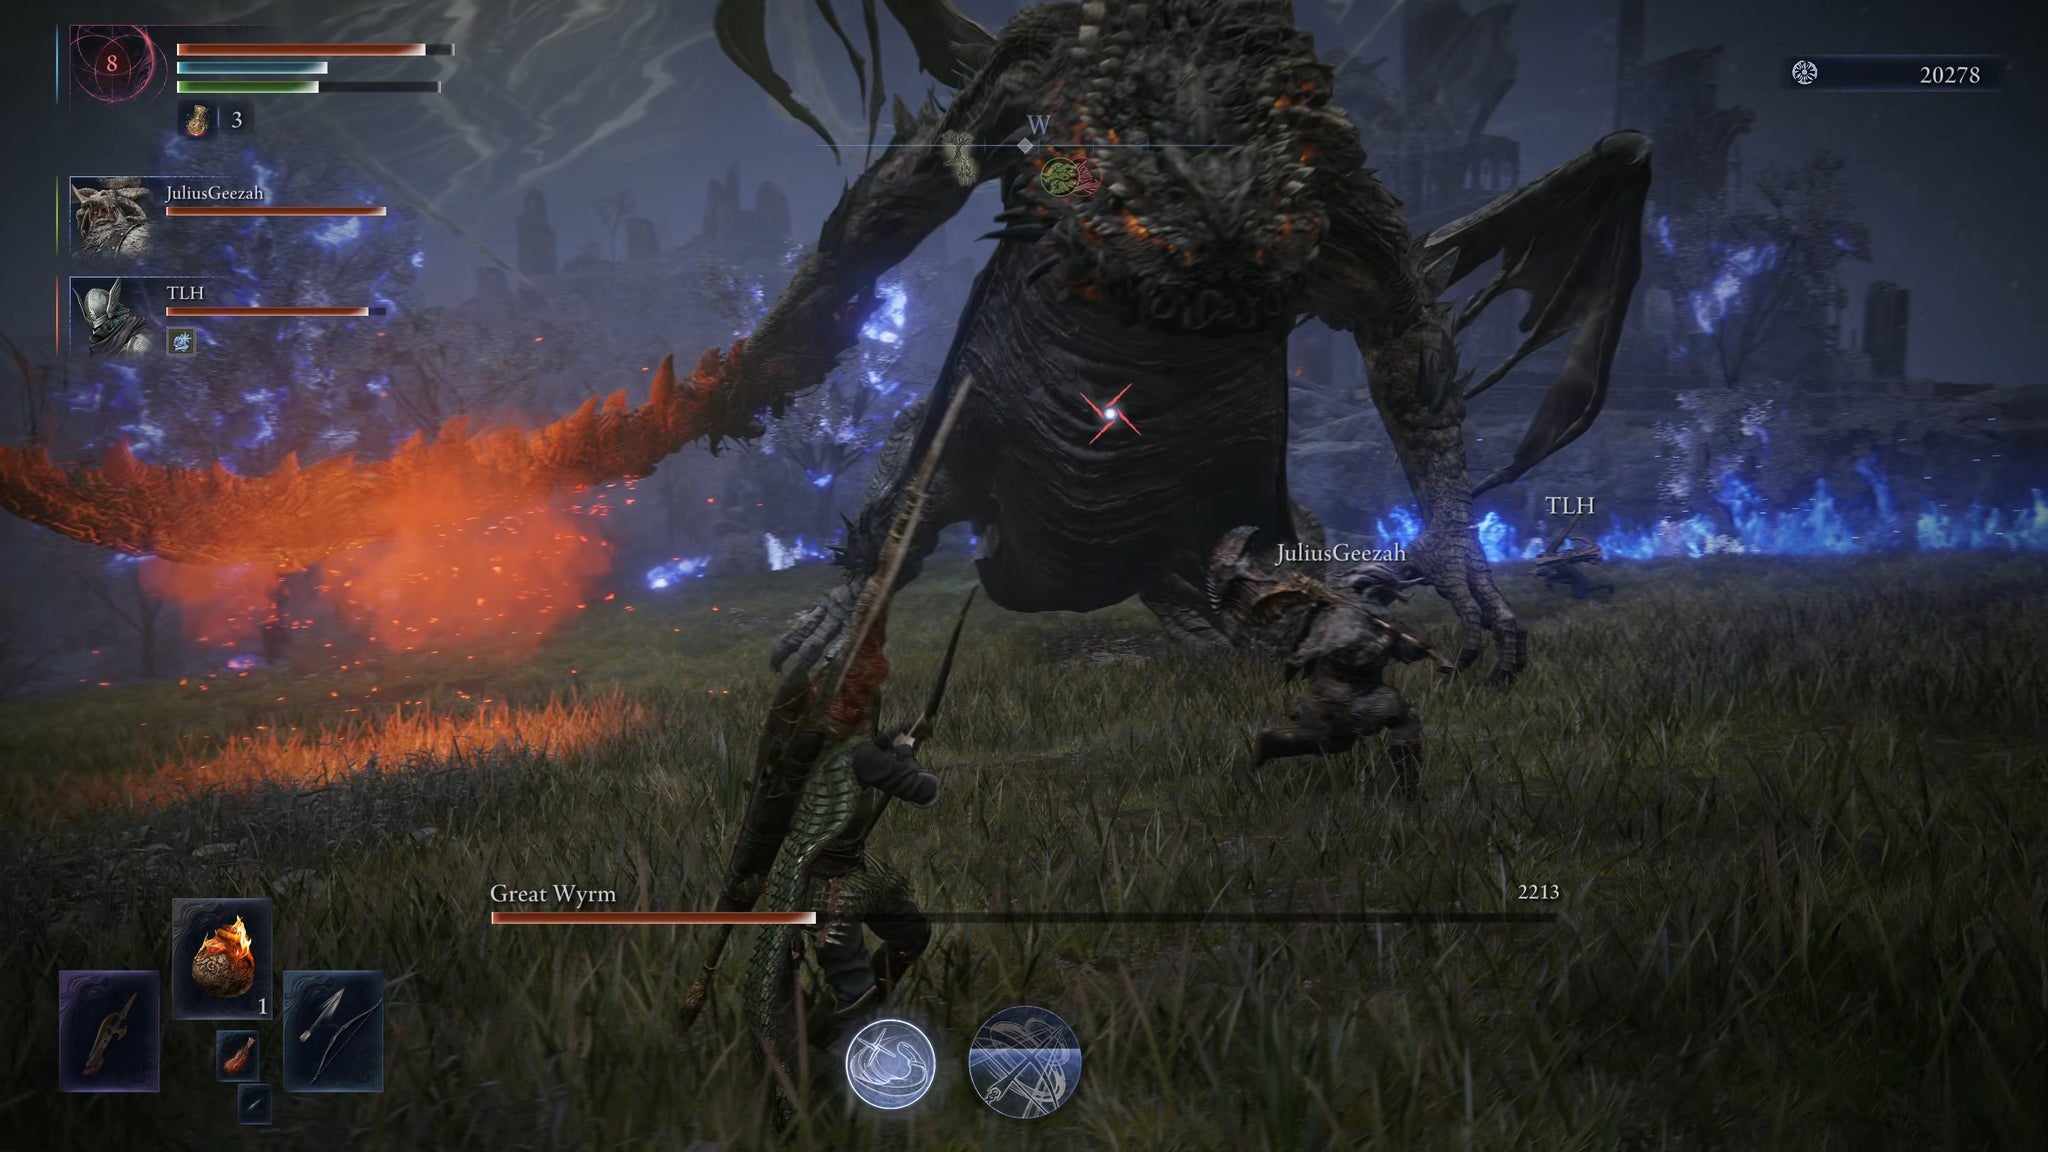
Draconic Tree Sentinel, Great Wyrm, Nox Dragonkin Soldier
Key Weakness
Fire
Form
Image credit: Rock Paper Shotgun/Bandai Namco
Image credit: Rock Paper Shotgun/Bandai Namco
Image credit: Rock Paper Shotgun/Bandai Namco
Image credit: Rock Paper Shotgun/Bandai Namco
Image credit: Rock Paper Shotgun/Bandai Namco
Image credit: Rock Paper Shotgun/Bandai Namco
Image credit: Rock Paper Shotgun/Bandai Namco
Image credit: Rock Paper Shotgun/Bandai Namco
Image credit: Rock Paper Shotgun/Bandai Namco
Image credit: Rock Paper Shotgun/Bandai Namco
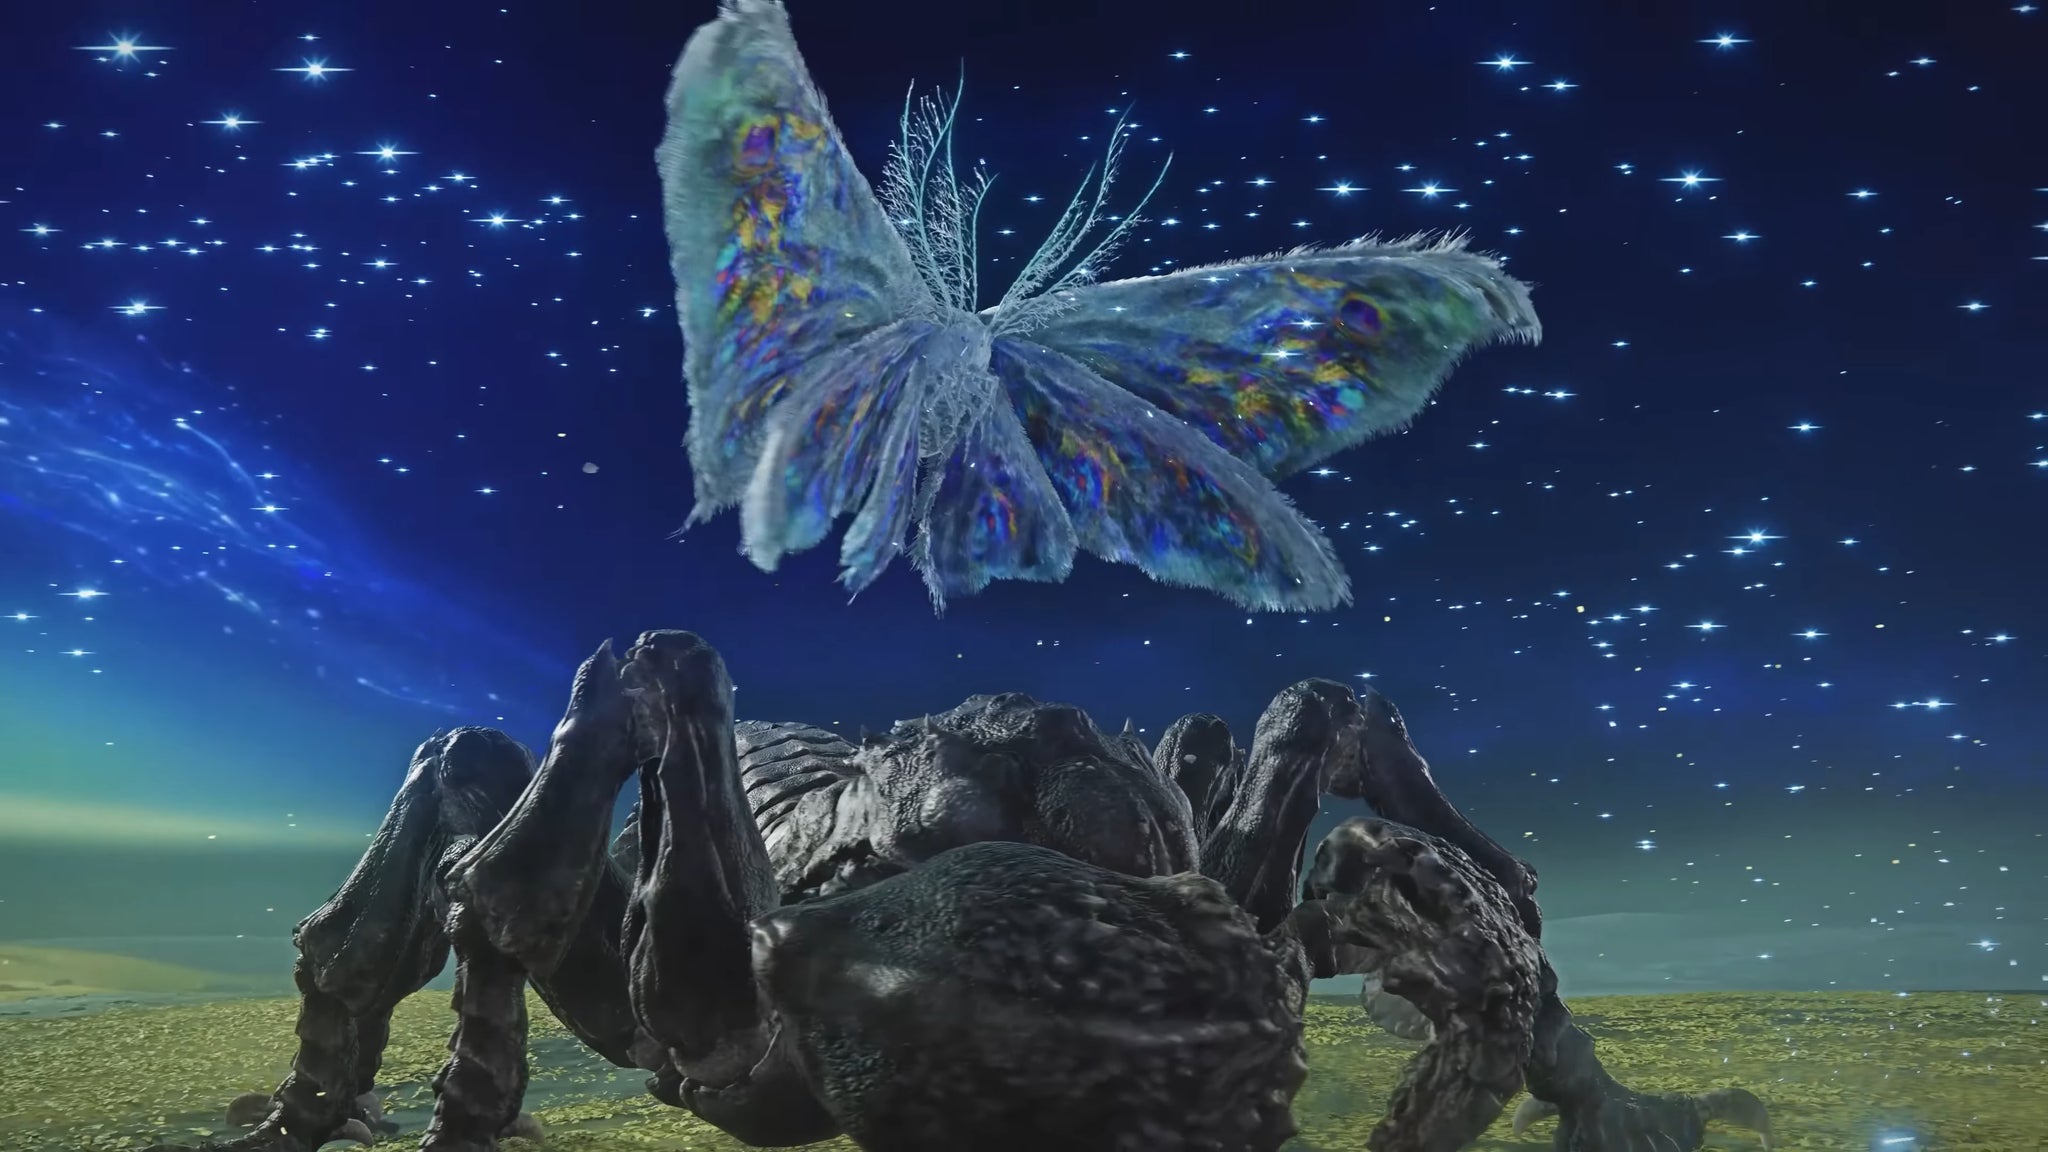
Moth
-50%
+40%
-10%
-10%
154
154
541
154
541
-
Scorpion
-10%
+35%
-10%
-10%
154
154
252
154
154
-
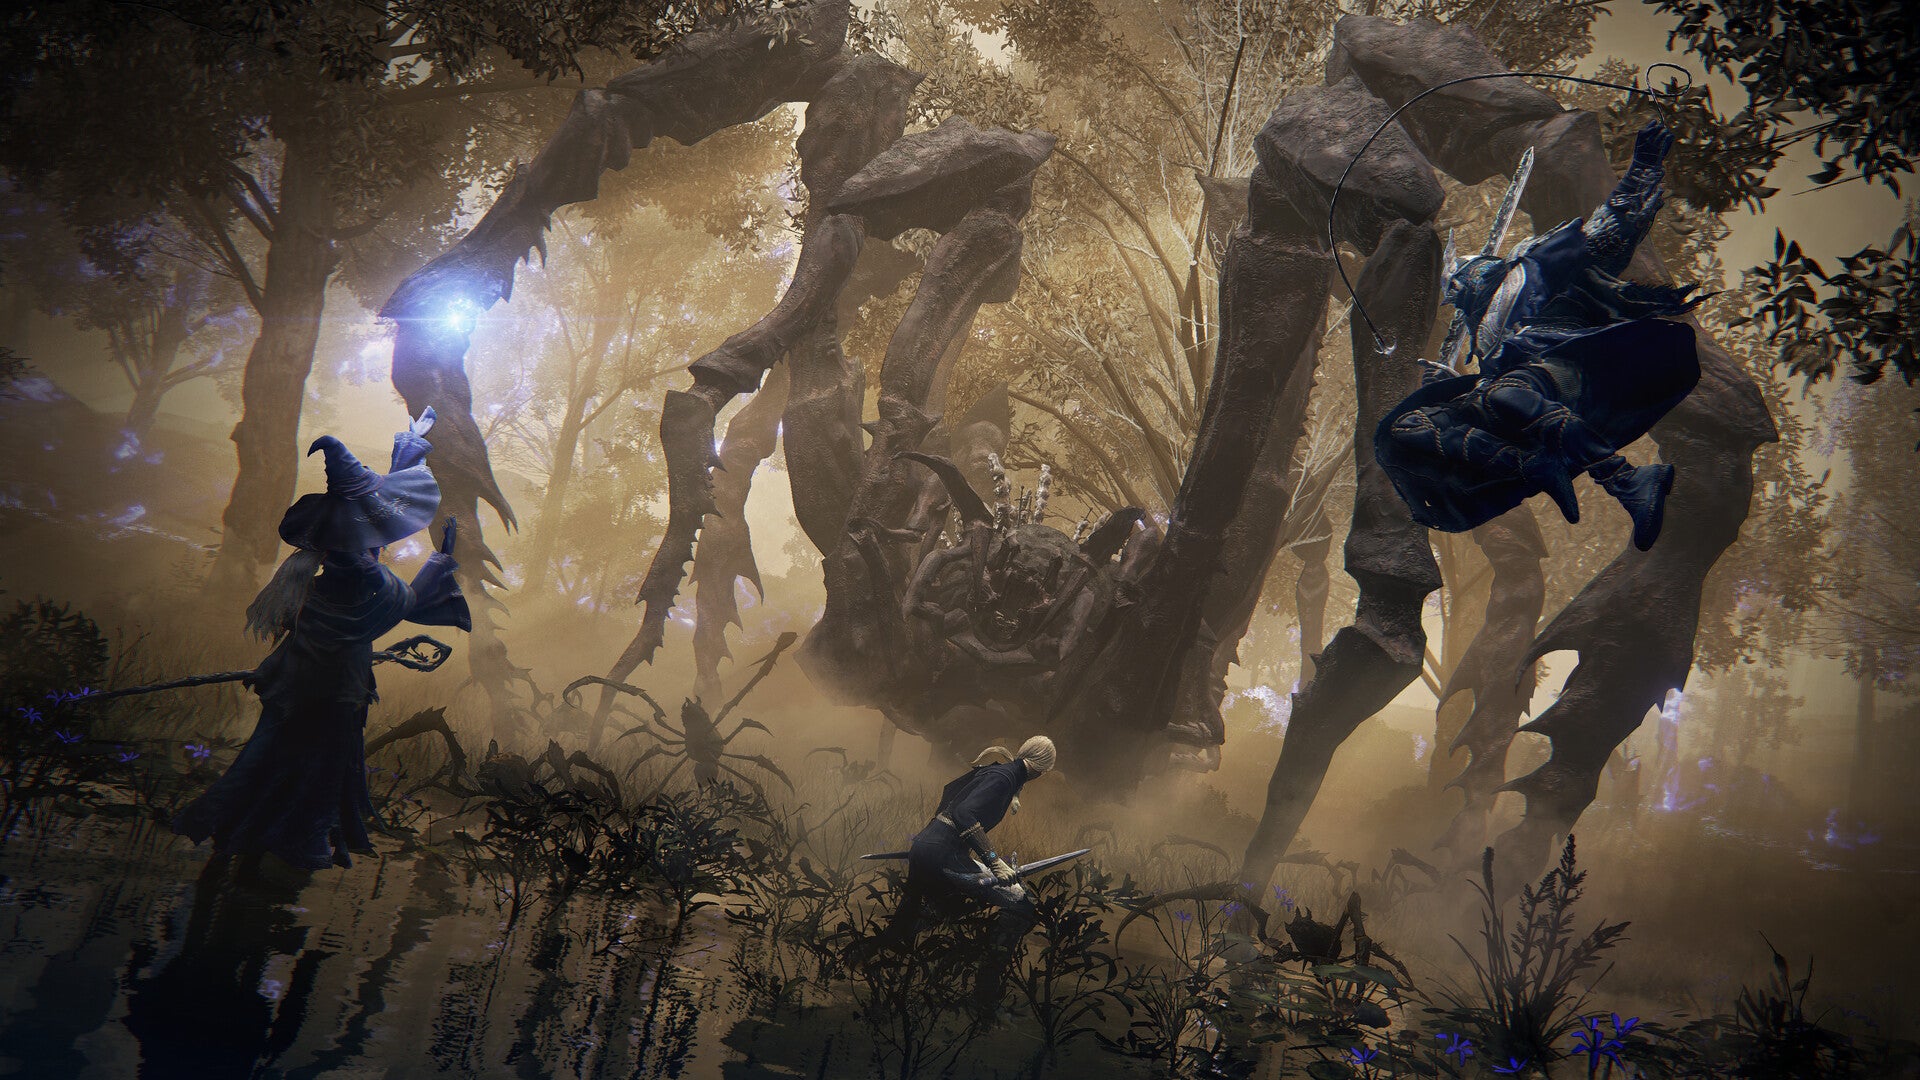
Gnoster, the Nightlord of the Sentient Pest Expedition, is a giant white moth which exists alongside a massive black insectoid creature. While the black creature charges down foes, Gnoster itself floats out of easy reach and summons magic projectiles to assault your team. Ranged weapons - and fire even more so - are essential for shortening this strangely serene boss fight. At just over half health, though, things will get a lot more intense as Gnoster lands atop the black insect's back and the pair of them unleash a series of devastating and hard-to-evade charge attacks, flanked by even more magical projectiles.
Maris, Fathom Of Night (Augur)
Image credit: Rock Paper Shotgun/Bandai Namco
Type
Nightlord
Night 1 Bosses
Gaping Dragon, Grafted Monarch, Wormface
Night 2 Bosses
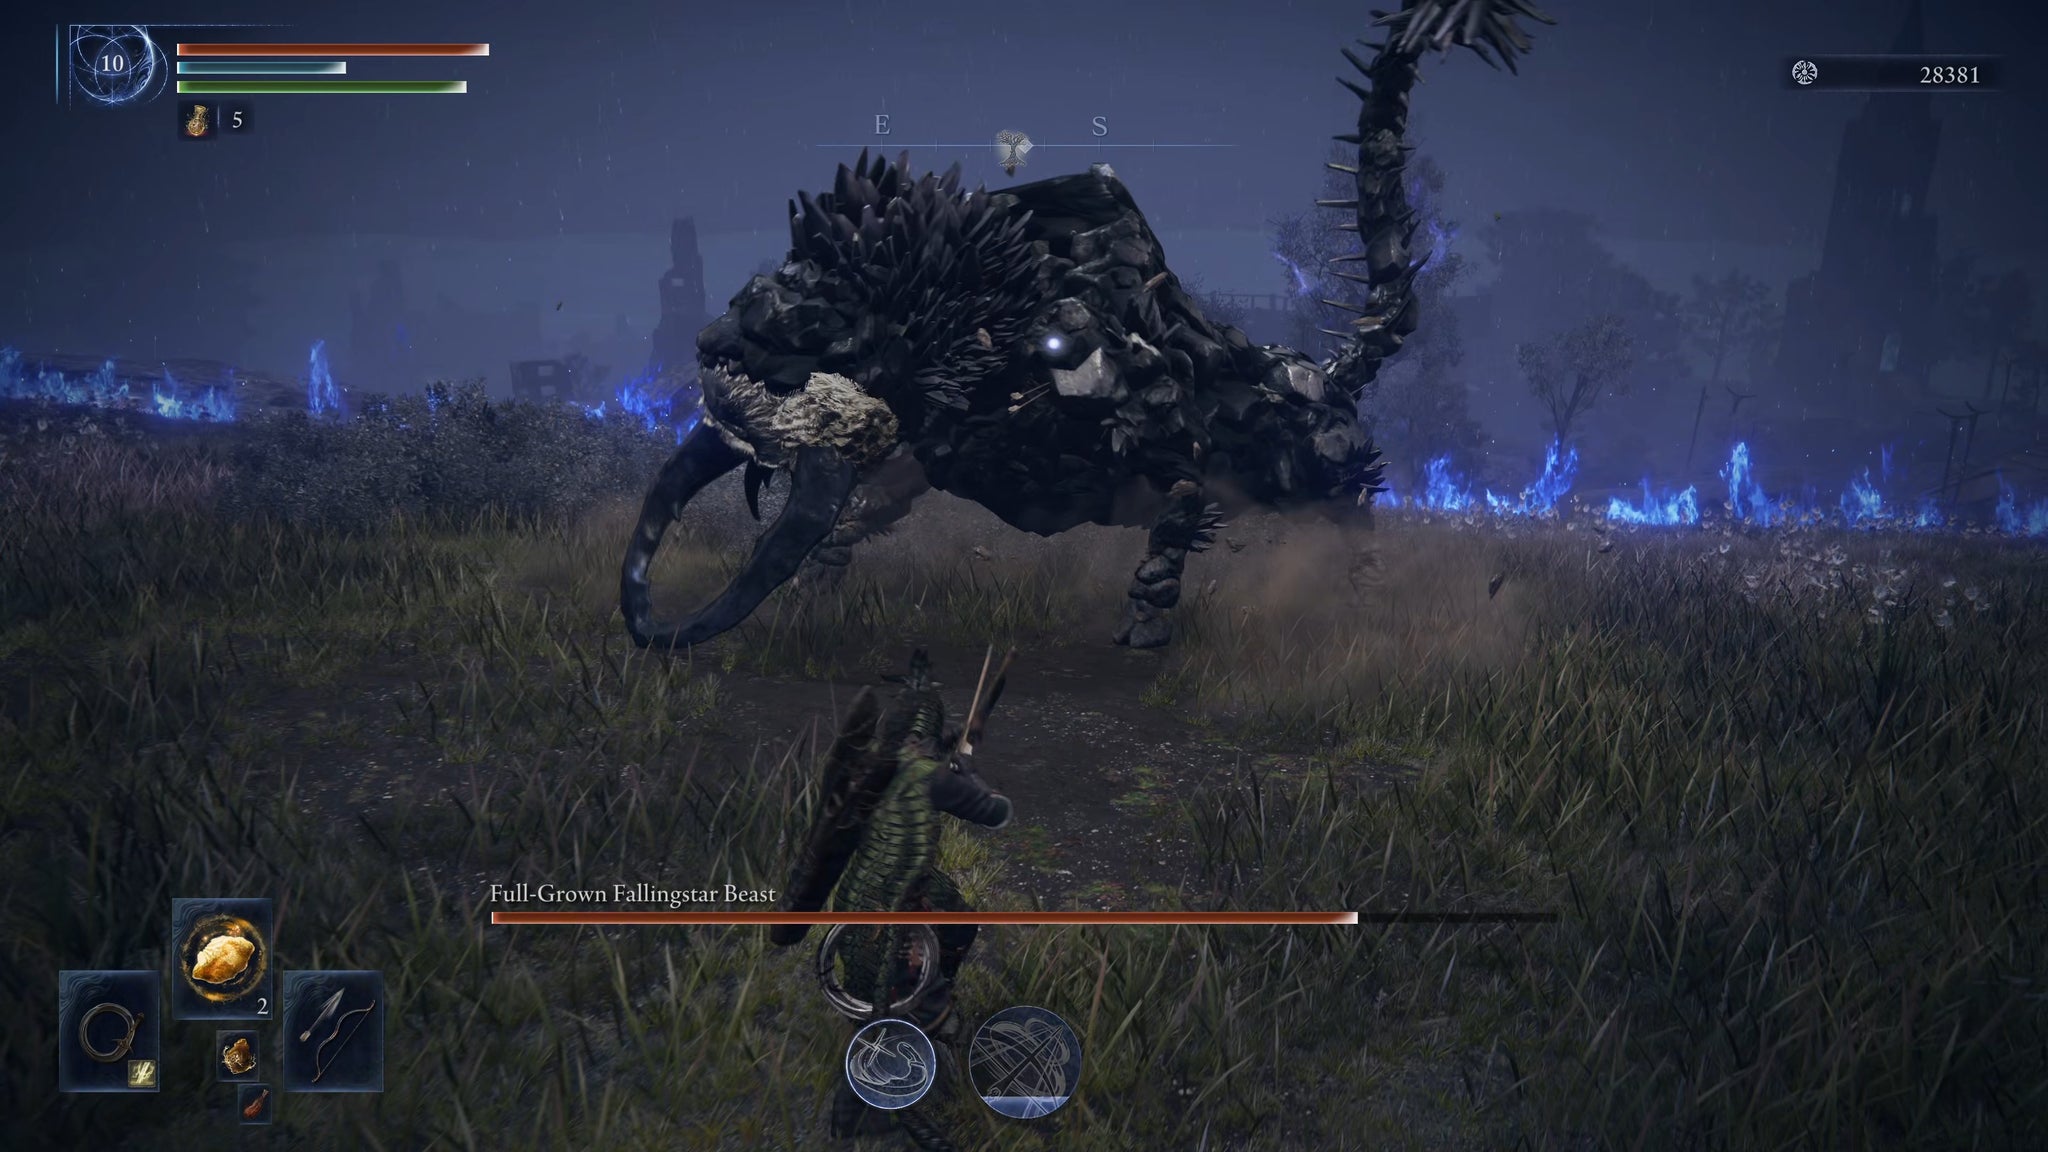
Full-Grown Fallingstar Beast, Tree Sentinel
Key Weakness
Lightning
Image credit: Rock Paper Shotgun/Bandai Namco
Image credit: Rock Paper Shotgun/Bandai Namco
Image credit: Rock Paper Shotgun/Bandai Namco
Image credit: Rock Paper Shotgun/Bandai Namco
Image credit: Rock Paper Shotgun/Bandai Namco
Image credit: Rock Paper Shotgun/Bandai Namco
Image credit: Rock Paper Shotgun/Bandai Namco
Image credit: Rock Paper Shotgun/Bandai Namco
Image credit: Rock Paper Shotgun/Bandai Namco
Image credit: Rock Paper Shotgun/Bandai Namco
-20%
-50%
+40%
-15%
-
252
-
252
-
-
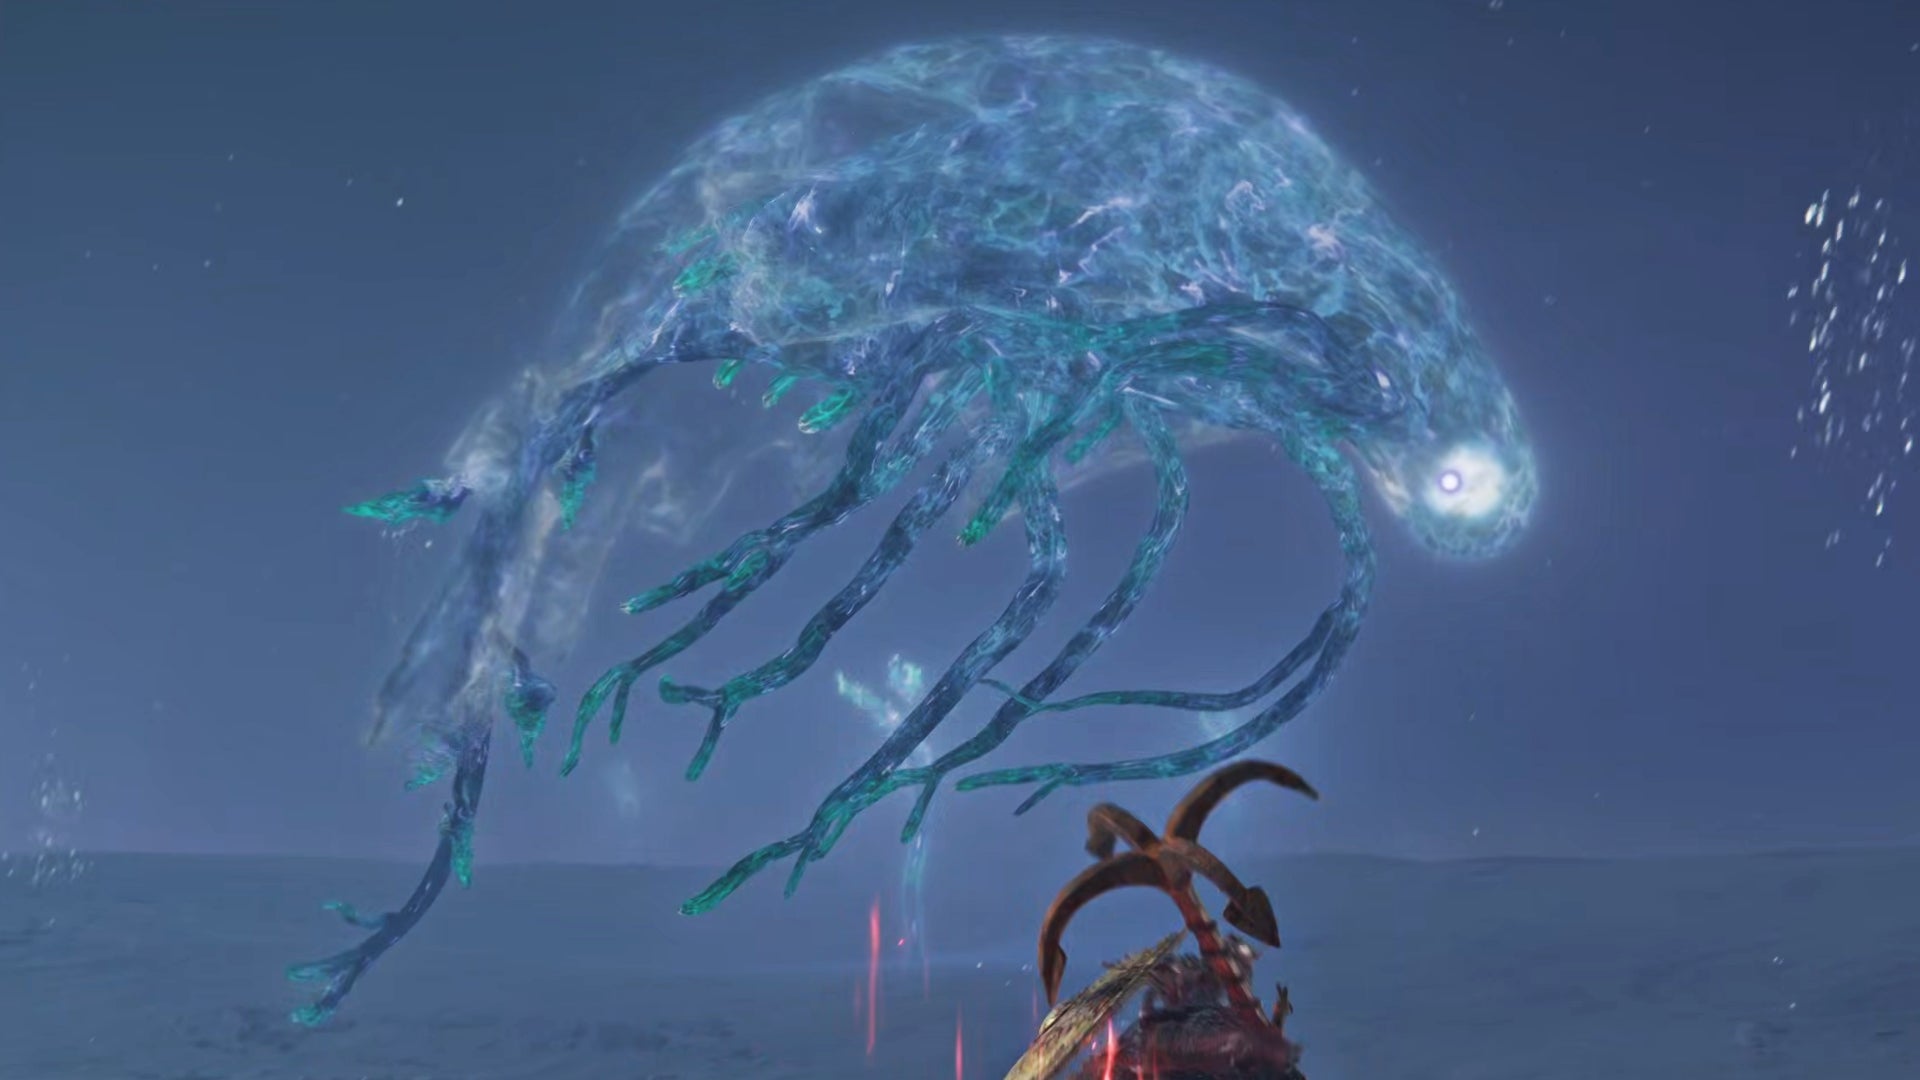
Maris, Fathom Of Night can be fought on Day 3 of the Augur Expedition. A graceful floating alien creature with some serious Elden Beast vibes, Maris is master of two things: summoning minions and tendril traps to keep you on the move; and sending your Nightfarers into a deadly slumber. Melee characters will likely struggle against Maris, because opportunities to land a strong blow are few. If you can withstand it, your best chance to deal massive damage is while the boss floats close to the ground and curls up in order to unleash a shockwave of sleep.
Libra, Creature Of Night (Equilibrious Beast)
Image credit: Rock Paper Shotgun/Bandai Namco
Type
Nightlord
Night 1 Bosses
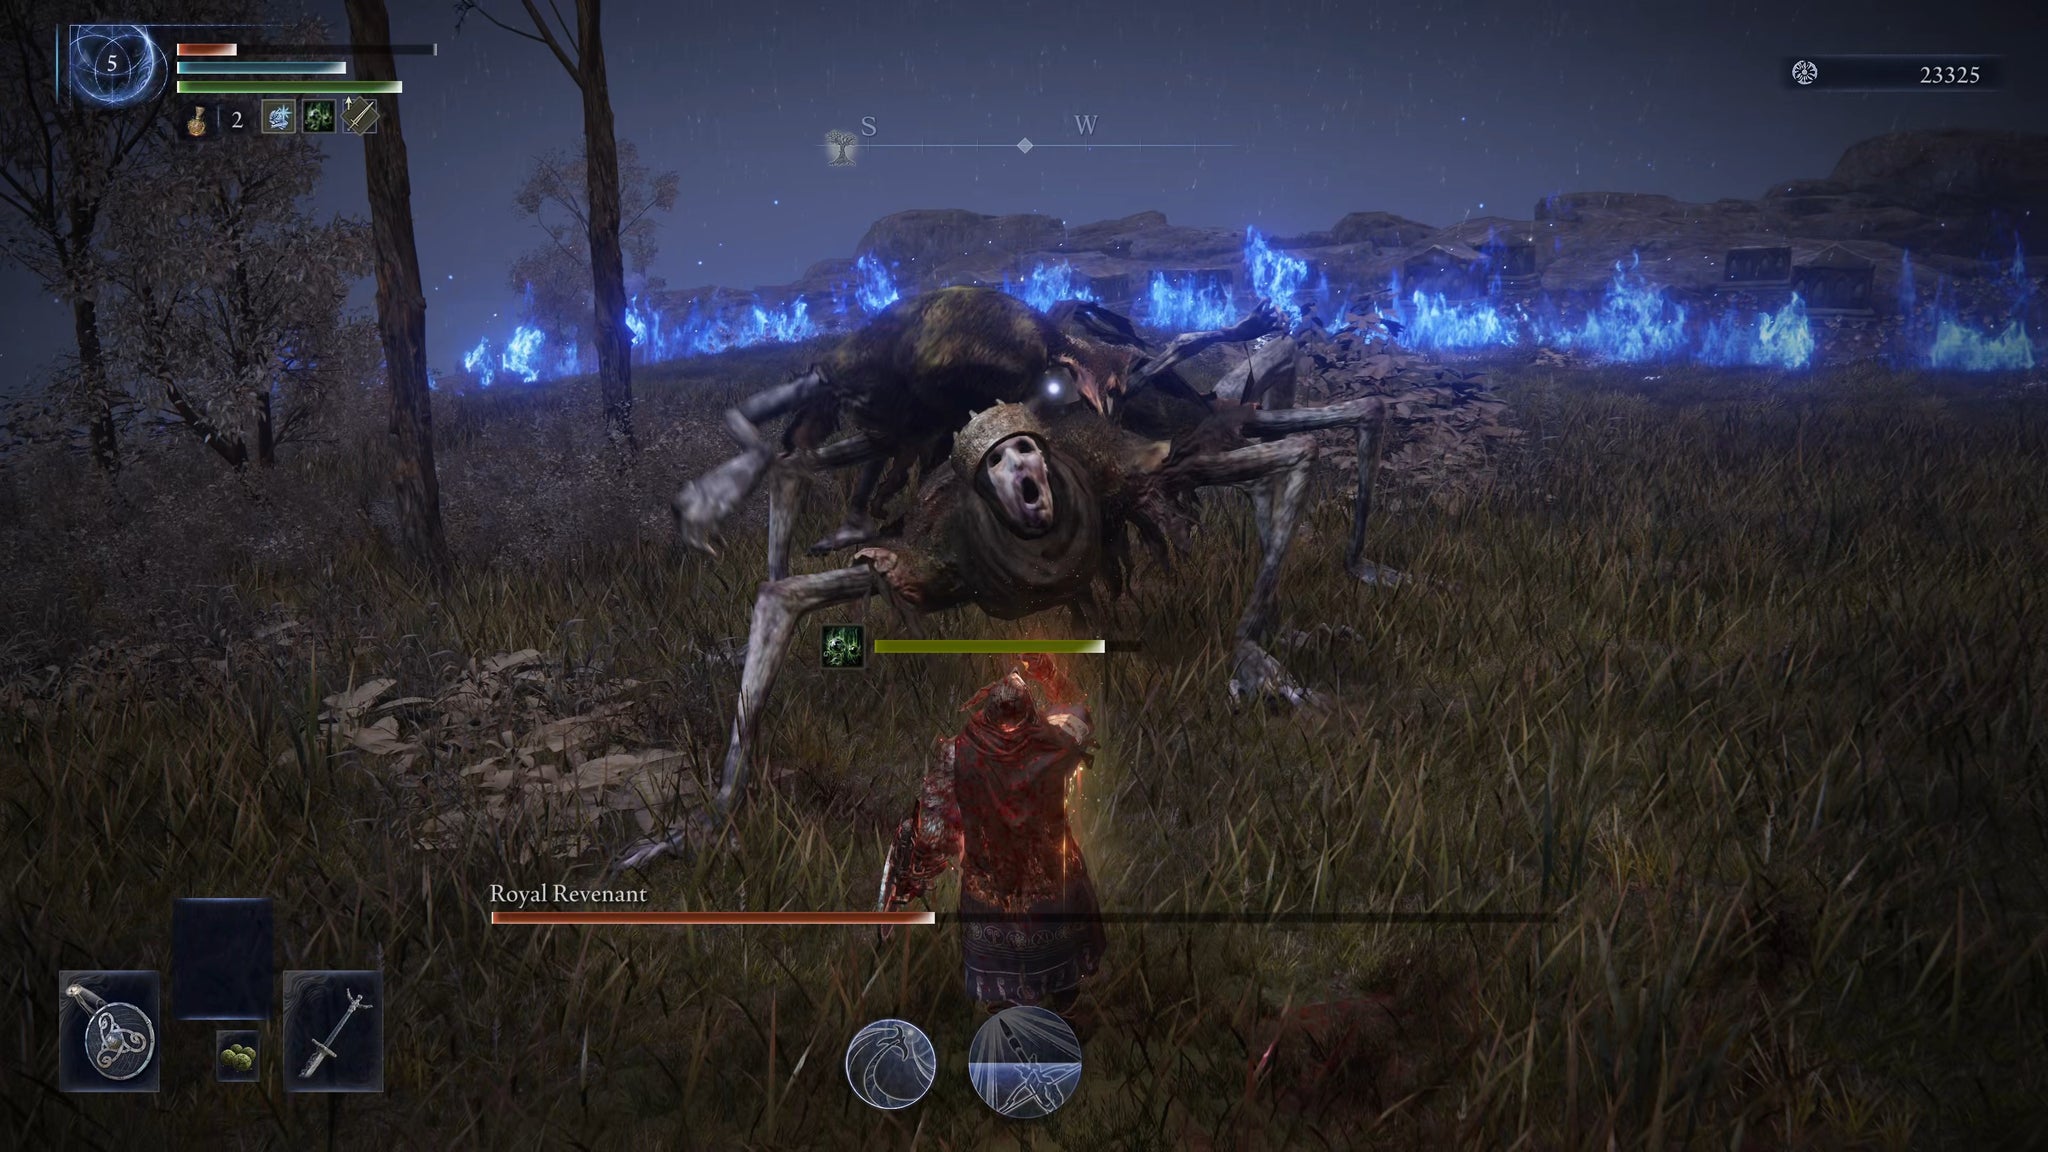
Centipede Demon, The Duke's Dear Freja, Tibia Mariner, Royal Revenant
Night 2 Bosses
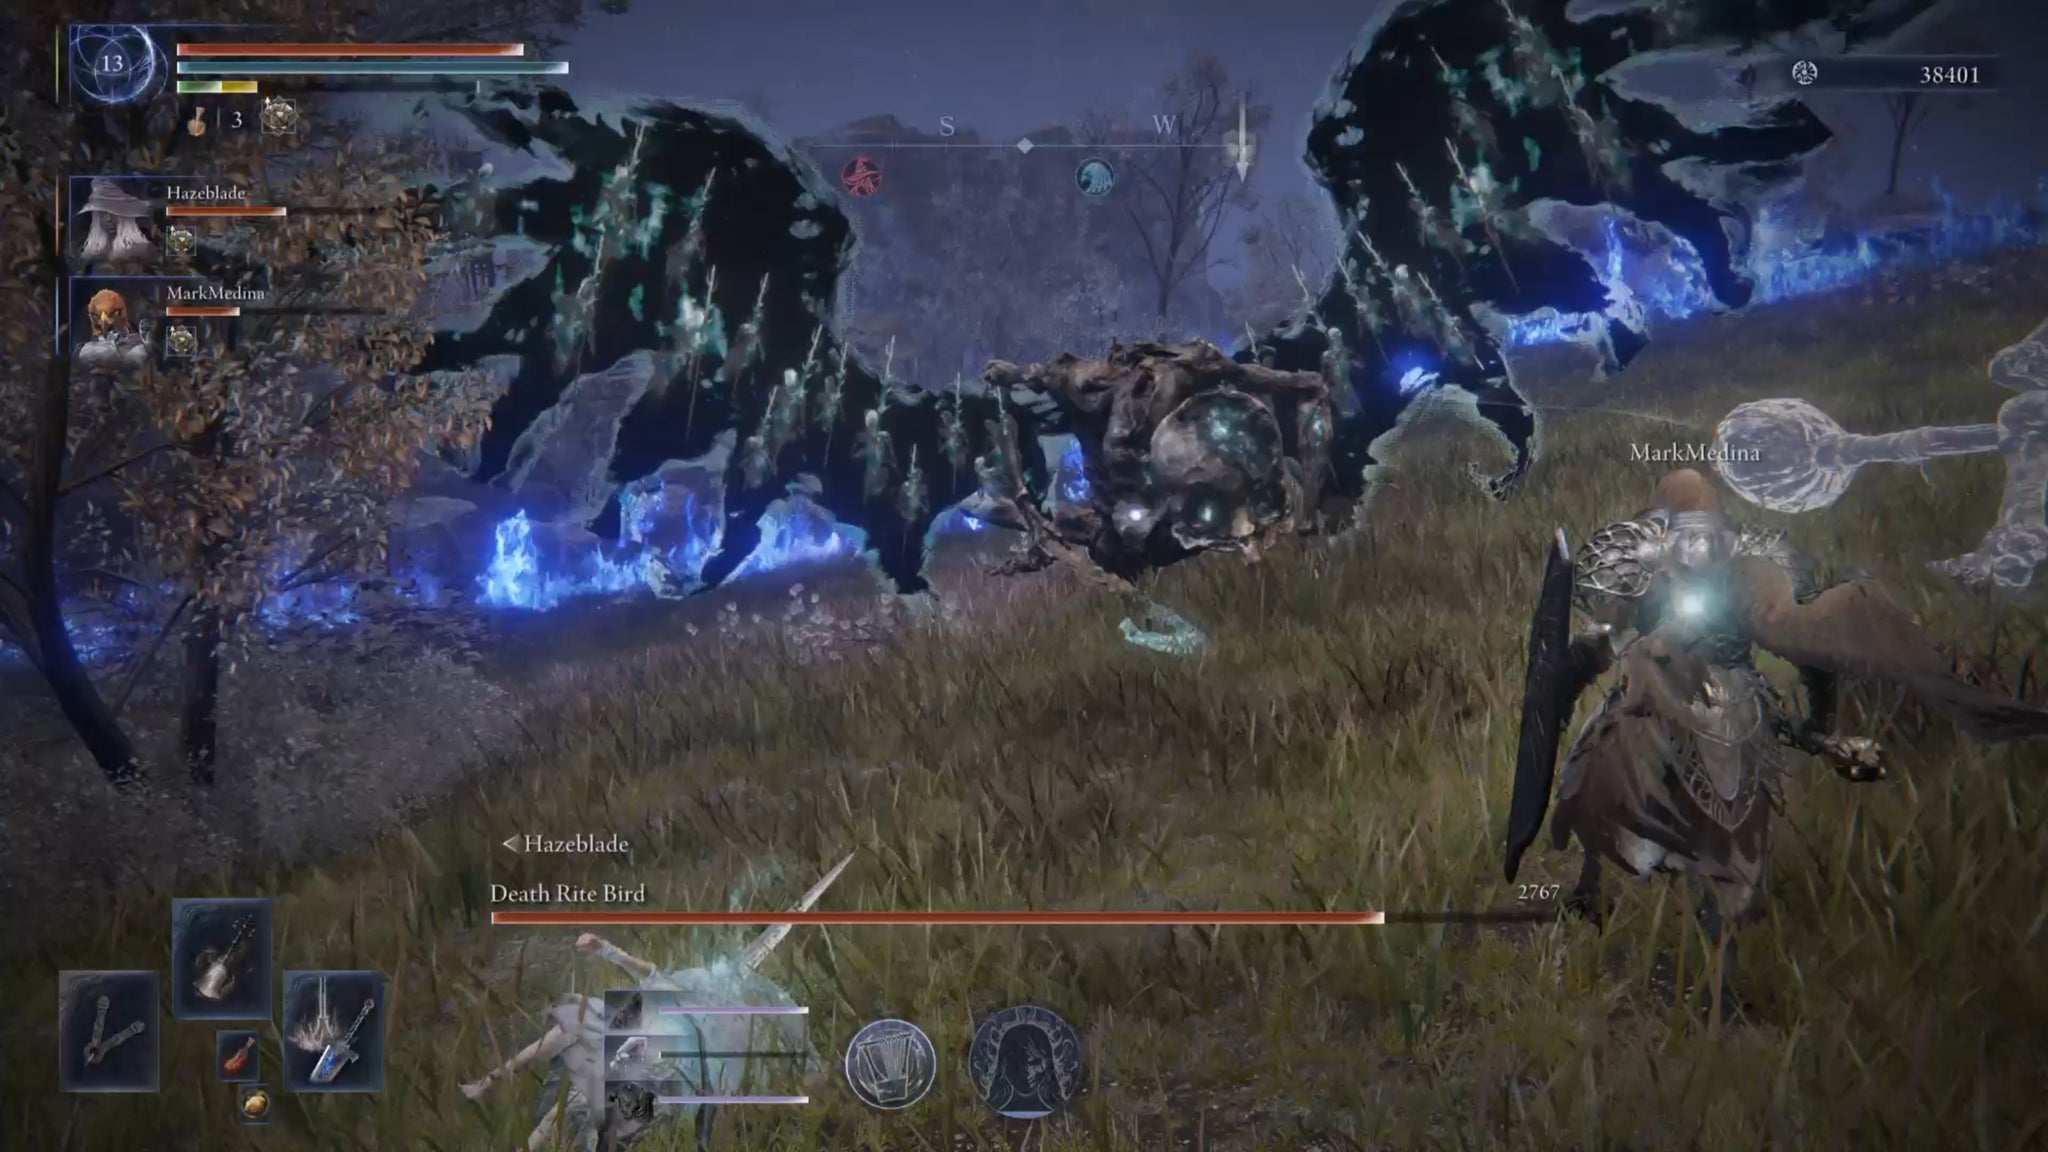
Crucible Knight/Golden Hippopotamus, Death Rite Bird, Godskin Duo
Key Weakness
Madness
Image credit: Rock Paper Shotgun/Bandai Namco
Image credit: Rock Paper Shotgun/Bandai Namco
Image credit: Rock Paper Shotgun/Bandai Namco
Image credit: Rock Paper Shotgun/Bandai Namco
Image credit: Rock Paper Shotgun/Bandai Namco
Image credit: Rock Paper Shotgun/Bandai Namco
Image credit: Rock Paper Shotgun/Bandai Namco
Image credit: Rock Paper Shotgun/Bandai Namco
Image credit: Rock Paper Shotgun/Bandai Namco
Image credit: Rock Paper Shotgun/Bandai Namco
-20%
+20%
+0%
+35%
252
252
154
154
-
154
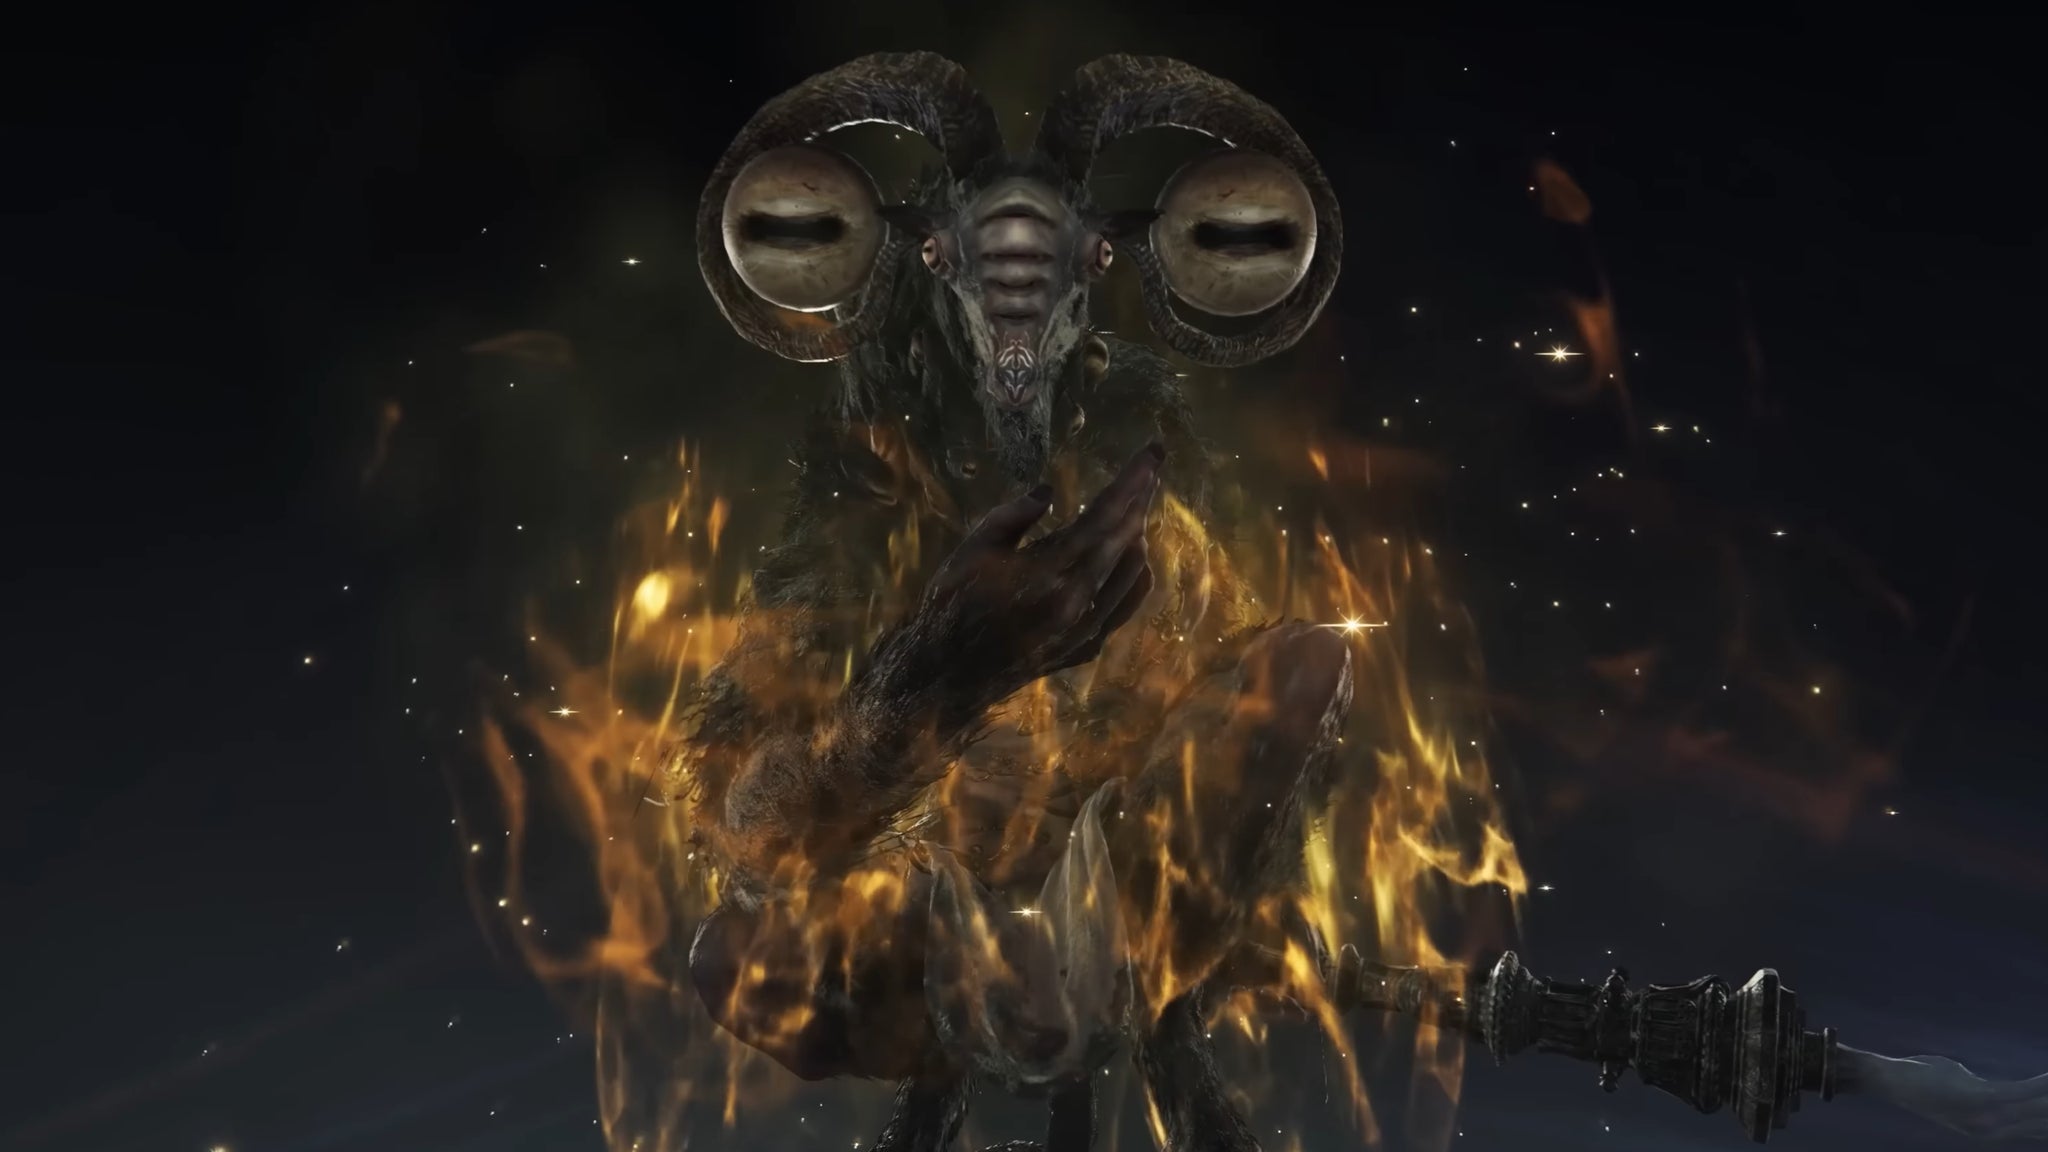
The enigmatic Libra finishes off the Equilibrious Beast Expedition in a rather different manner to the other Nightlords. Ahead of the fight, you can speak to him in the centre of the arena and - if you wish - choose a monkey's paw-style wish. There are various to choose from, and selecting each one will tell you about both the positive and negative effects that will follow. Once you've chosen (or rejected the choice), the true fight begins. Libra makes judicial use of Madness-inflicting magical attacks, and also hits very hard with his more standard physical combos. He's not the hardest boss in the world to stagger, but will attempt to keep control of the fight by teleporting around and conjuring lots of area denial effects to keep you on the move. When he begins to hover and conjure sigils around him, you'd best run through the sigils quickly to destroy them, or his madness attacks will become much further-reaching and more powerful.
Fulghor, Champion Of Nightglow (Darkdrift Knight)
Image credit: Rock Paper Shotgun/Bandai Namco
Type
Nightlord
Night 1 Bosses
Gaping Dragon, Night's Cavalry x2, Royal Revenant, Valiant Gargoyle, Wormface
Fulghor, Champion of Nightglow is a huge, centaur-like creature fought on the final day of the Darkdrift Knight Expedition. Imbued with holy light and the powers of Gold, Fulghor summons spectral weaponry from the ground, charging around the arena wreathed in golden light. Its spear gives it a powerful set of melee attacks, and it boasts surprising speed given its size. When it nears 50% health, Fulghor gives into corruption and extends a sickly black and blue tendril from the stump on its left side. It then attacks with both the gold light of Order and the blue/black liquid, using new, large AoE slam attacks and wide-reaching sweeps with the tendril.
Caligo, Miasma Of Night (Fissure In The Fog)
Image credit: Rock Paper Shotgun/Bandai Namco
Type
Nightlord
Night 1 Bosses
Grafted Monarch, Smelter Demon, The Duke's Dear Freja, Tibia Mariner, Ulcerated Tree Spirit
Night 2 Bosses
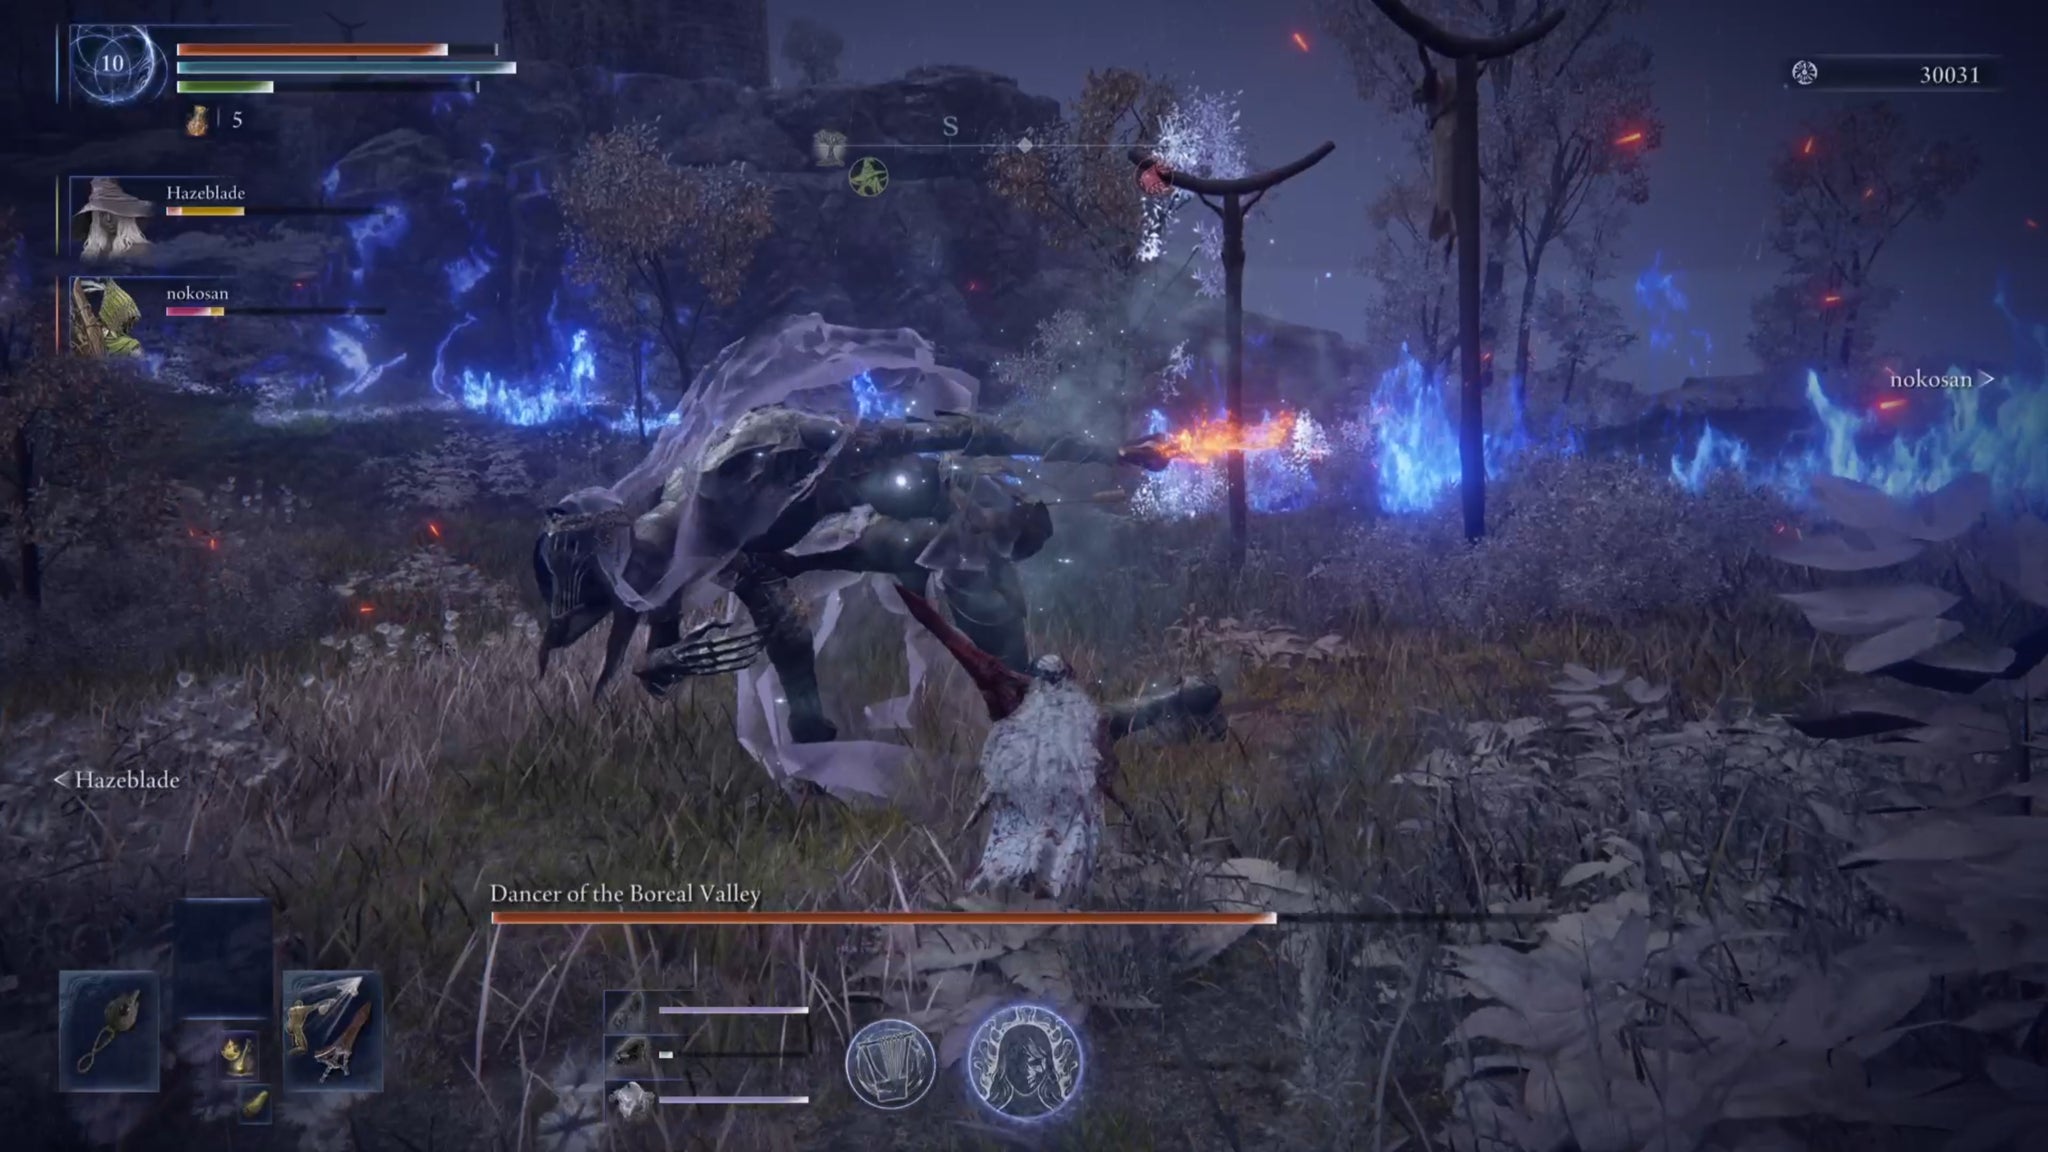
Dancer Of The Boreal Valley, Draconic Tree Sentinel, Godskin Duo
Key Weakness
Fire
Image credit: Rock Paper Shotgun/Bandai Namco
Image credit: Rock Paper Shotgun/Bandai Namco
Image credit: Rock Paper Shotgun/Bandai Namco
Image credit: Rock Paper Shotgun/Bandai Namco
Image credit: Rock Paper Shotgun/Bandai Namco
Image credit: Rock Paper Shotgun/Bandai Namco
Image credit: Rock Paper Shotgun/Bandai Namco
Image credit: Rock Paper Shotgun/Bandai Namco
Image credit: Rock Paper Shotgun/Bandai Namco
Image credit: Rock Paper Shotgun/Bandai Namco
-20%
+35%
-20%
-20%
252
541
252
252
541
-
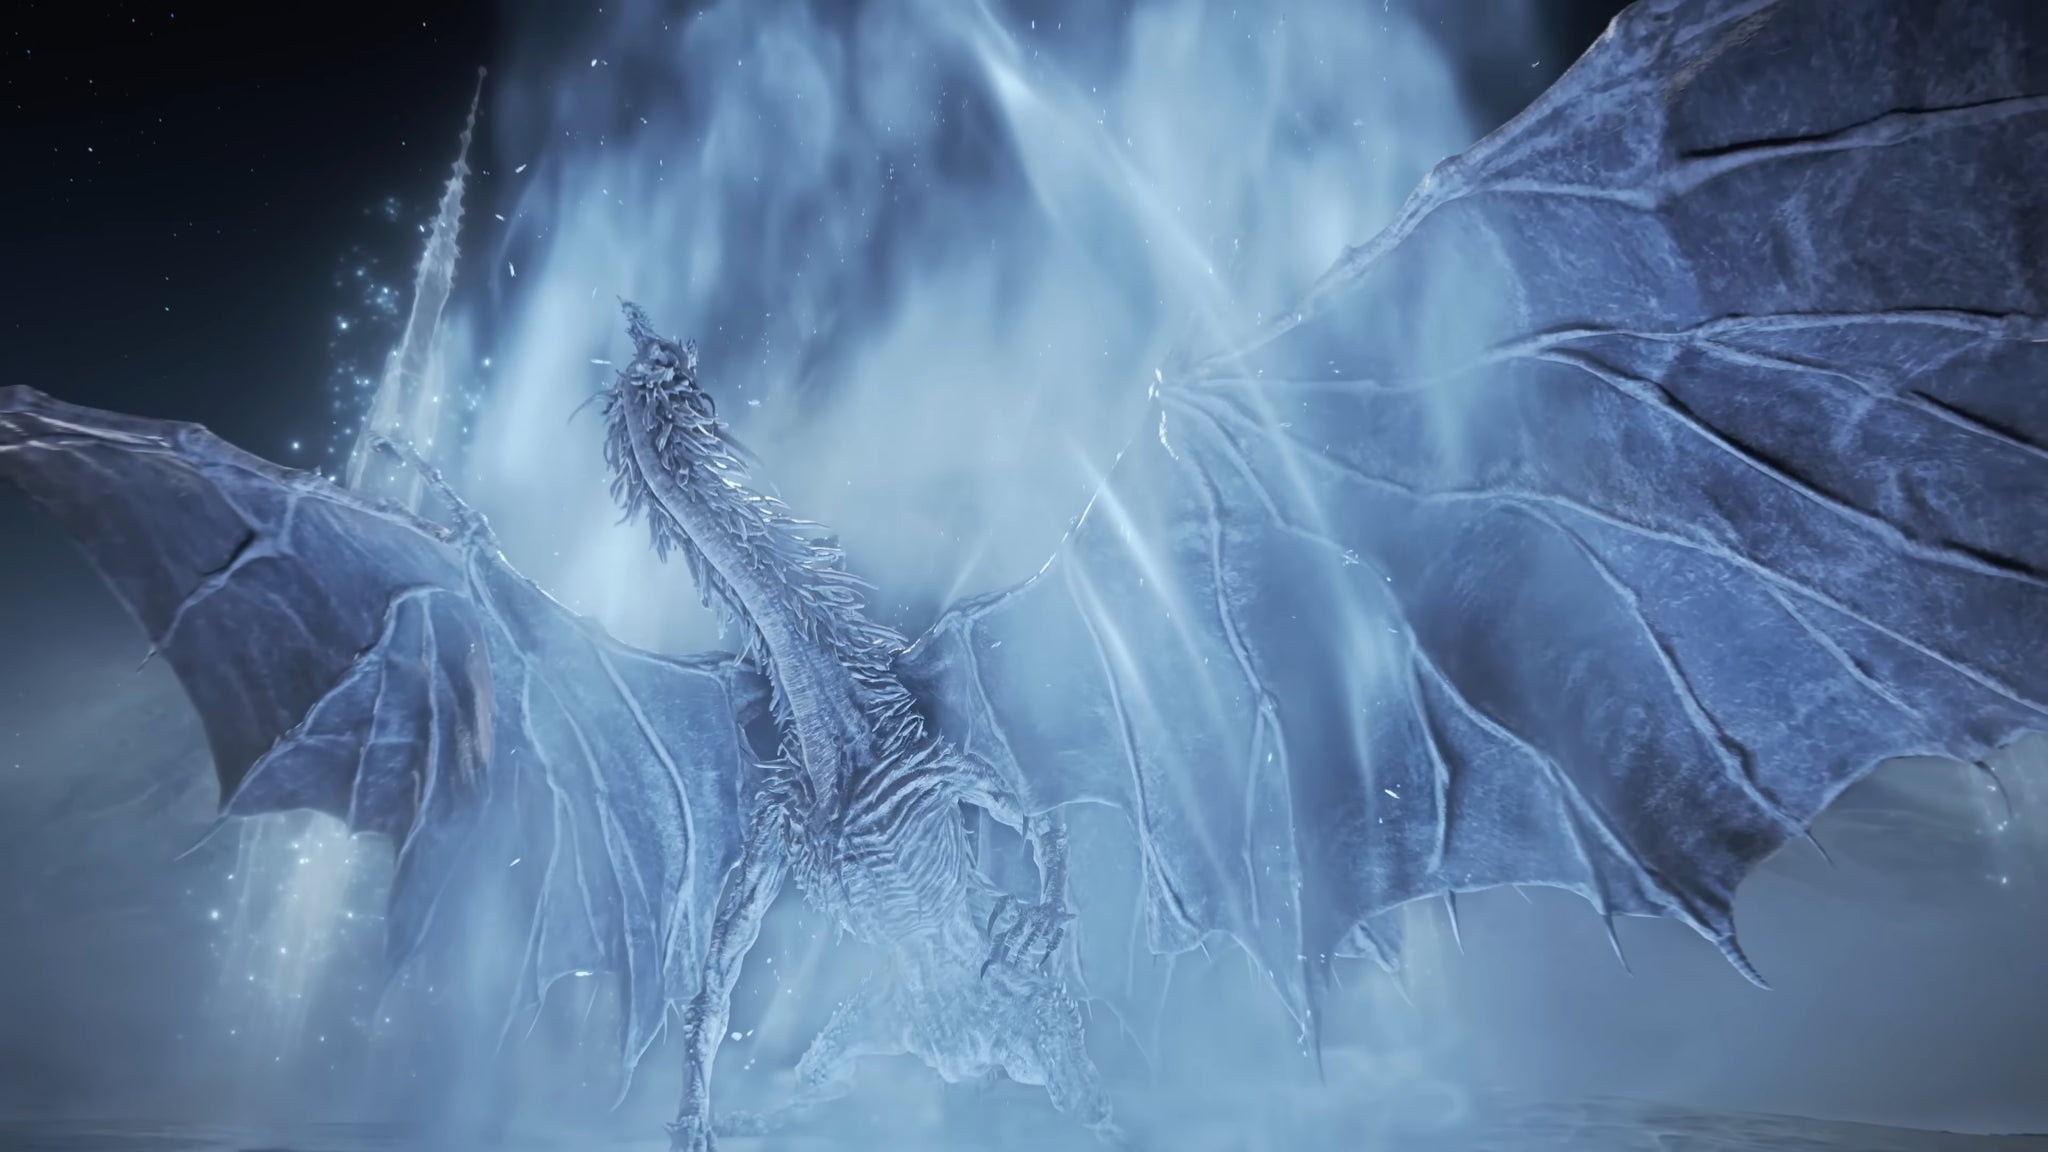
The towering dragon Caligo, Miasma Of Night, is the final boss of the Fissure In The Fog Expedition. As you might expect from its icy demeanour, bring fire for this fight, and plenty of it - and if you can gain the reward from the Mountaintop event in the same run, then even better. Without these boons, Caligo's strength, mobility, and reach make for a very dangerous encounter. In particular, you need to watch out for when it attempts to obscure itself in fog and launch a surprise attack at you while you can't see it coming. In the second phase, things get even more intense, as Caligo gains a more aggressive moveset which contains some powerful area-of-effect ice attacks that could spell the end for your run if you're not all careful.
The Shape Of Night/Heolstor The Nightlord (Night Aspect)
Image credit: Rock Paper Shotgun/IGN/Bandai Namco
Type
Nightlord
Night 1 Bosses
Any Night 1 Boss
Night 2 Bosses
Any Night 2 Boss
Key Weakness
Holy
Form
Image credit: Rock Paper Shotgun/Bandai Namco
Image credit: Rock Paper Shotgun/Bandai Namco
Image credit: Rock Paper Shotgun/Bandai Namco
Image credit: Rock Paper Shotgun/Bandai Namco
Image credit: Rock Paper Shotgun/Bandai Namco
Image credit: Rock Paper Shotgun/Bandai Namco
Image credit: Rock Paper Shotgun/Bandai Namco
Image credit: Rock Paper Shotgun/Bandai Namco
Image credit: Rock Paper Shotgun/Bandai Namco
Image credit: Rock Paper Shotgun/Bandai Namco
Phase 1
+0%
+20%
+0%
+35%
-
-
-
252
541
-
Phase 2
+0%
+0%
+20%
+20%
-
-
-
252
541
-
Heolstor The Nightlord is the final boss of base Elden Ring: Nightreign, the one true Nightlord where all the others were merely its Aspects. To unlock the ability to fight Heolstor, you must first defeat four different Nightlords and gain their Traces Of Night. Only then can you begin this final ultimate test.
At first, Heolstor appears only as "The Shape Of Night", and wields a single, dark-empowered sword. While it may be mobile and its attacks swift, Heolstor is a manageable opponent in this phase. It even seems like it only has a single health bar, but don't be fooled. After depleting this final boss's first bar, it calls upon the power of Night to revive and gain a vast increase in power. In the second phase, Heolstor gains far-reaching sword beams and becomes far more aggressive. Its speed vastly increases and its attack patterns grow more erratic. Its resistances also increase, meaning you'll need to outlast its barrage of new moves while also increasing your own damage output to take it down.
Adel, Baron Of Night (Everdark Sovereign)
Adel is the first of the Nightlords to have been given a separate Everdark Sovereign variant, which starts him off in his regular phase 2, gives him more HP, and has him generate a gigantic tornado in the centre of the map at 60% health which you must stay inside or suffer continuous damage. The Adel fight was already a chaotic one, but facing Everdark Sovereign Adel is far more so.
Gnoster, Wisdom Of Night (Everdark Sovereign)
The Sentient Pest that is Gnoster has also been given an Everdark Sovereign variant, which makes this Nightlord far tougher than before. No more simple first phase to ease you into the fight; everything will come at you full force as the moth and scorpion appear together from minute one.
Fulghor, Champion Of Nightglow (Everdark Sovereign)
Fulghor's Everdark Sovereign variant is definitely set to be one of the most challenging bosses in Nightreign. Taking an already dangerous and powerful Nightlord and giving it more HP and heightened aggression, along with new movesets in its second phase... This is going to be one of the greatest challenges for any Nightfarer.
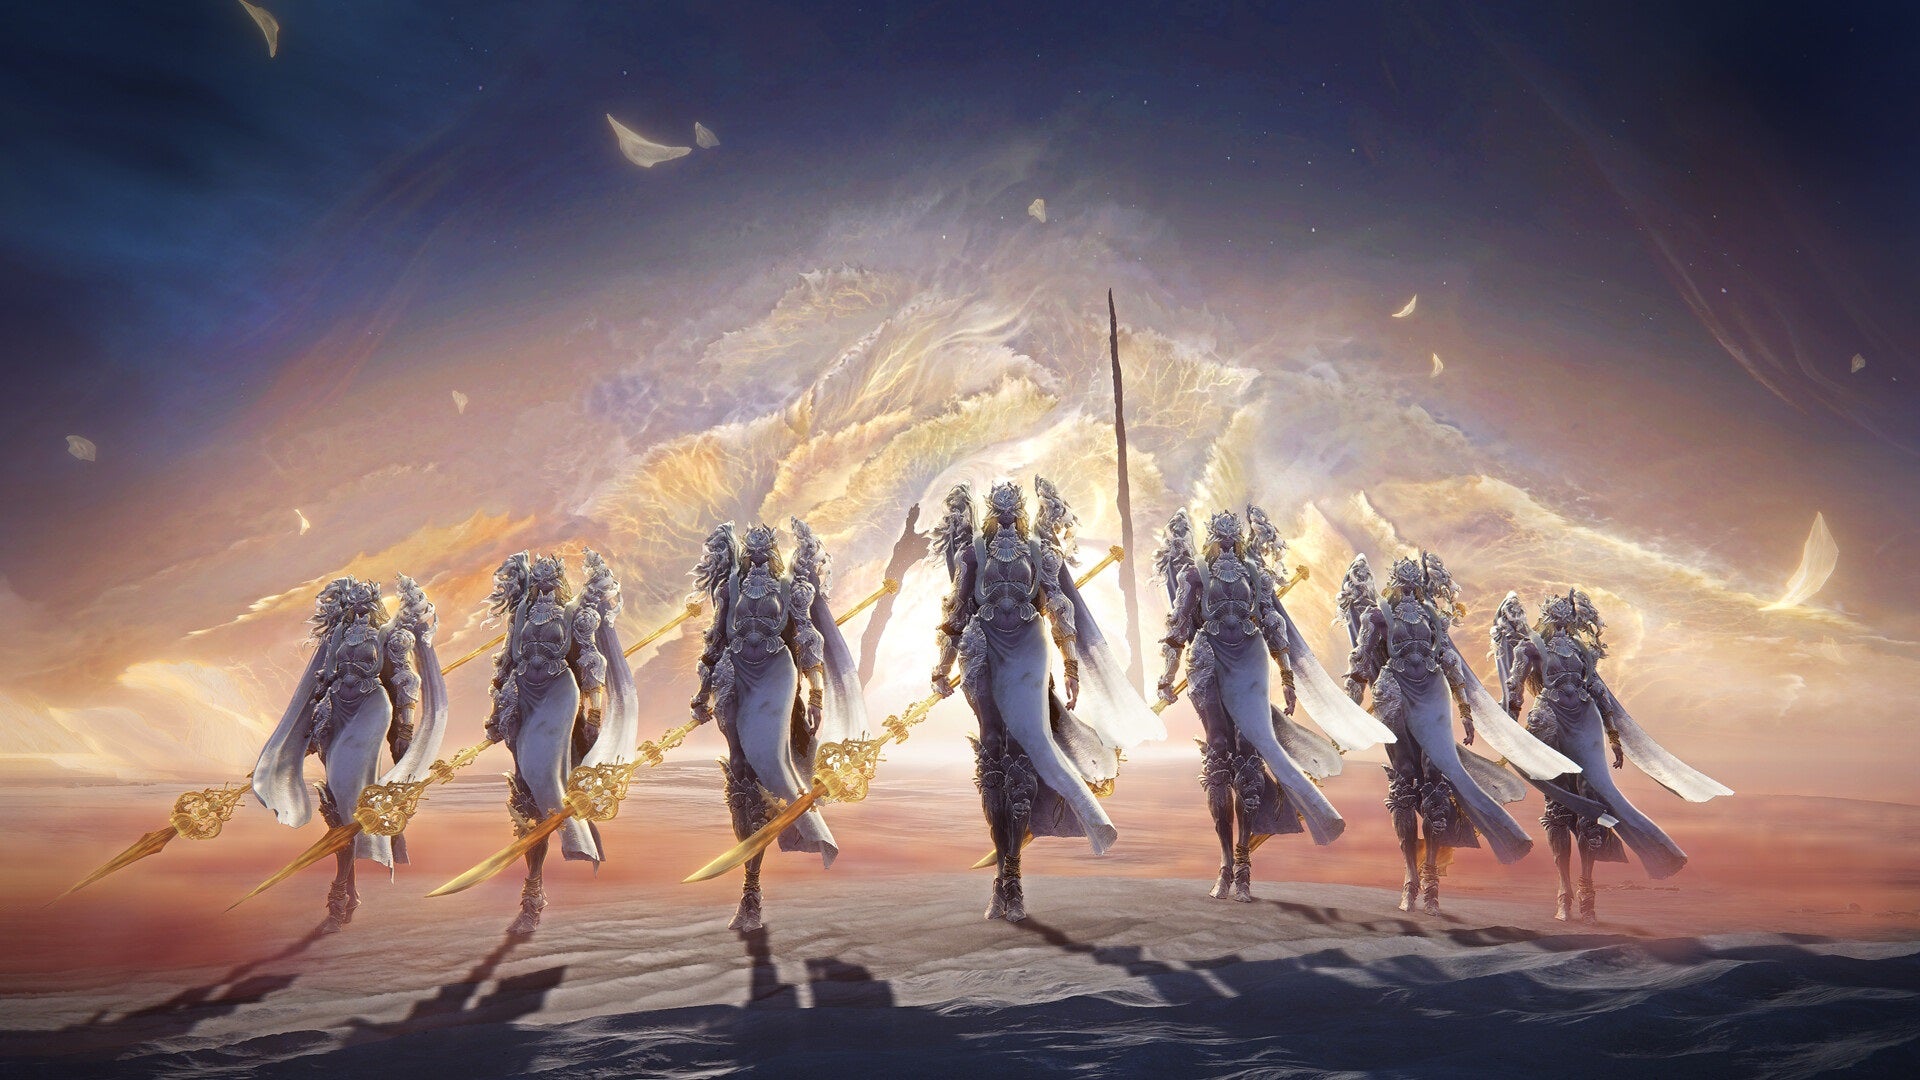
Weapon Bequeathed Harmonia (Balancers)
Image credit: Bandai Namco
Type
Nightlord
Night 1 Bosses
Demon in Pain and Demon from Below, Curseblade and Divine Beast Warrior
Night 2 Bosses
Demon Prince, Mohg Lord of Blood
Key Weakness
Sleep
Image credit: Rock Paper Shotgun/Bandai Namco
Image credit: Rock Paper Shotgun/Bandai Namco
Image credit: Rock Paper Shotgun/Bandai Namco
Image credit: Rock Paper Shotgun/Bandai Namco
Image credit: Rock Paper Shotgun/Bandai Namco
Image credit: Rock Paper Shotgun/Bandai Namco
Image credit: Rock Paper Shotgun/Bandai Namco
Image credit: Rock Paper Shotgun/Bandai Namco
Image credit: Rock Paper Shotgun/Bandai Namco
Image credit: Rock Paper Shotgun/Bandai Namco
+0%
-8%
-10%
-30%
252
252
252
252
84
-
Weapon Bequeathed Harmonia is the first boss of The Forsaken Hollows, and they're a force to be reckoned with. This group of angelic Balancers is a pain to take on solo, as they're seven of them to contend with at once. Fight them with a full party if possible, and try to include a Scholar in your group, as the Scholar's Analyse skill and Ultimate Art - which let you respectively target multiple foes at once for a debuff and link them together to share damage - is meant for a combat scenario like this.
Arena awareness is key during this fight, as it's very easy to get overwhelmed by a flurry of Balancers attacking you at once. Their attacks are all well telegraphed, but you'll need to constantly reposition yourself to avoid getting curbstomped. Keep chipping away at individual Balancers, and you can usually get three or so hits on each before they retaliate. They're resistant to most things, so sticking with simple strikes (or focus firing with Ironeye's Marking) is key to whittling them down. Once every Balancer is dead, several of them will revive into a single entity, which is slightly easier to contend with if you can avoid its grab attacks. The other Balancers will stay in the air and make swooping attacks and explosions across the arena that once again require careful dodging to avoid.
The second boss of The Forsaken Hollows, Straghess the Dreglord is first encountered when you unlock Scholar and Undertaker, but you aren't meant to beat him then. When you later meet this hulking skull-faced collection of corpses, you're in for a tough fight against an opponent who nevertheless does telegraph his huge sweeping strikes pretty clearly. Tackle him as you would any large Elden Ring boss, and take advantage of those openings after he swings. Eventually, Straghess will up the ante by using attacks that inflict Scarlet Rot, and he'll also summon corpses to distract you. Stay close to him, attack from the sides, and don't let up!
The second phase sees the Dreglord transform into Pure Impulse Straghess, and the difficulty is truly high here. After he transforms, watch out for his ground punches, as each of these causes a Scarlet Rot burst to shoot up across the arena. Avoid these before continuing your assault, which should rely on the same strategies from phase one of the fight. The main difference here is Straghess' ultimate attack, when he summons pillars up from the ground. He'll either target a single Nightfarer by jumping into the pillars, or he'll unleash a wave of Rot that can sweep the whole area. Guardian's Wings of Salvation Ultimate comes in very handy for negating this attack if you aren't able to time your dodges perfectly. Good luck.
All Night 1 bosses
Bell Bearing Hunter
Image credit: Rock Paper Shotgun/Bandai Namco
Type
Night 1 Boss
Expeditions
Tricephalos, Night Aspect
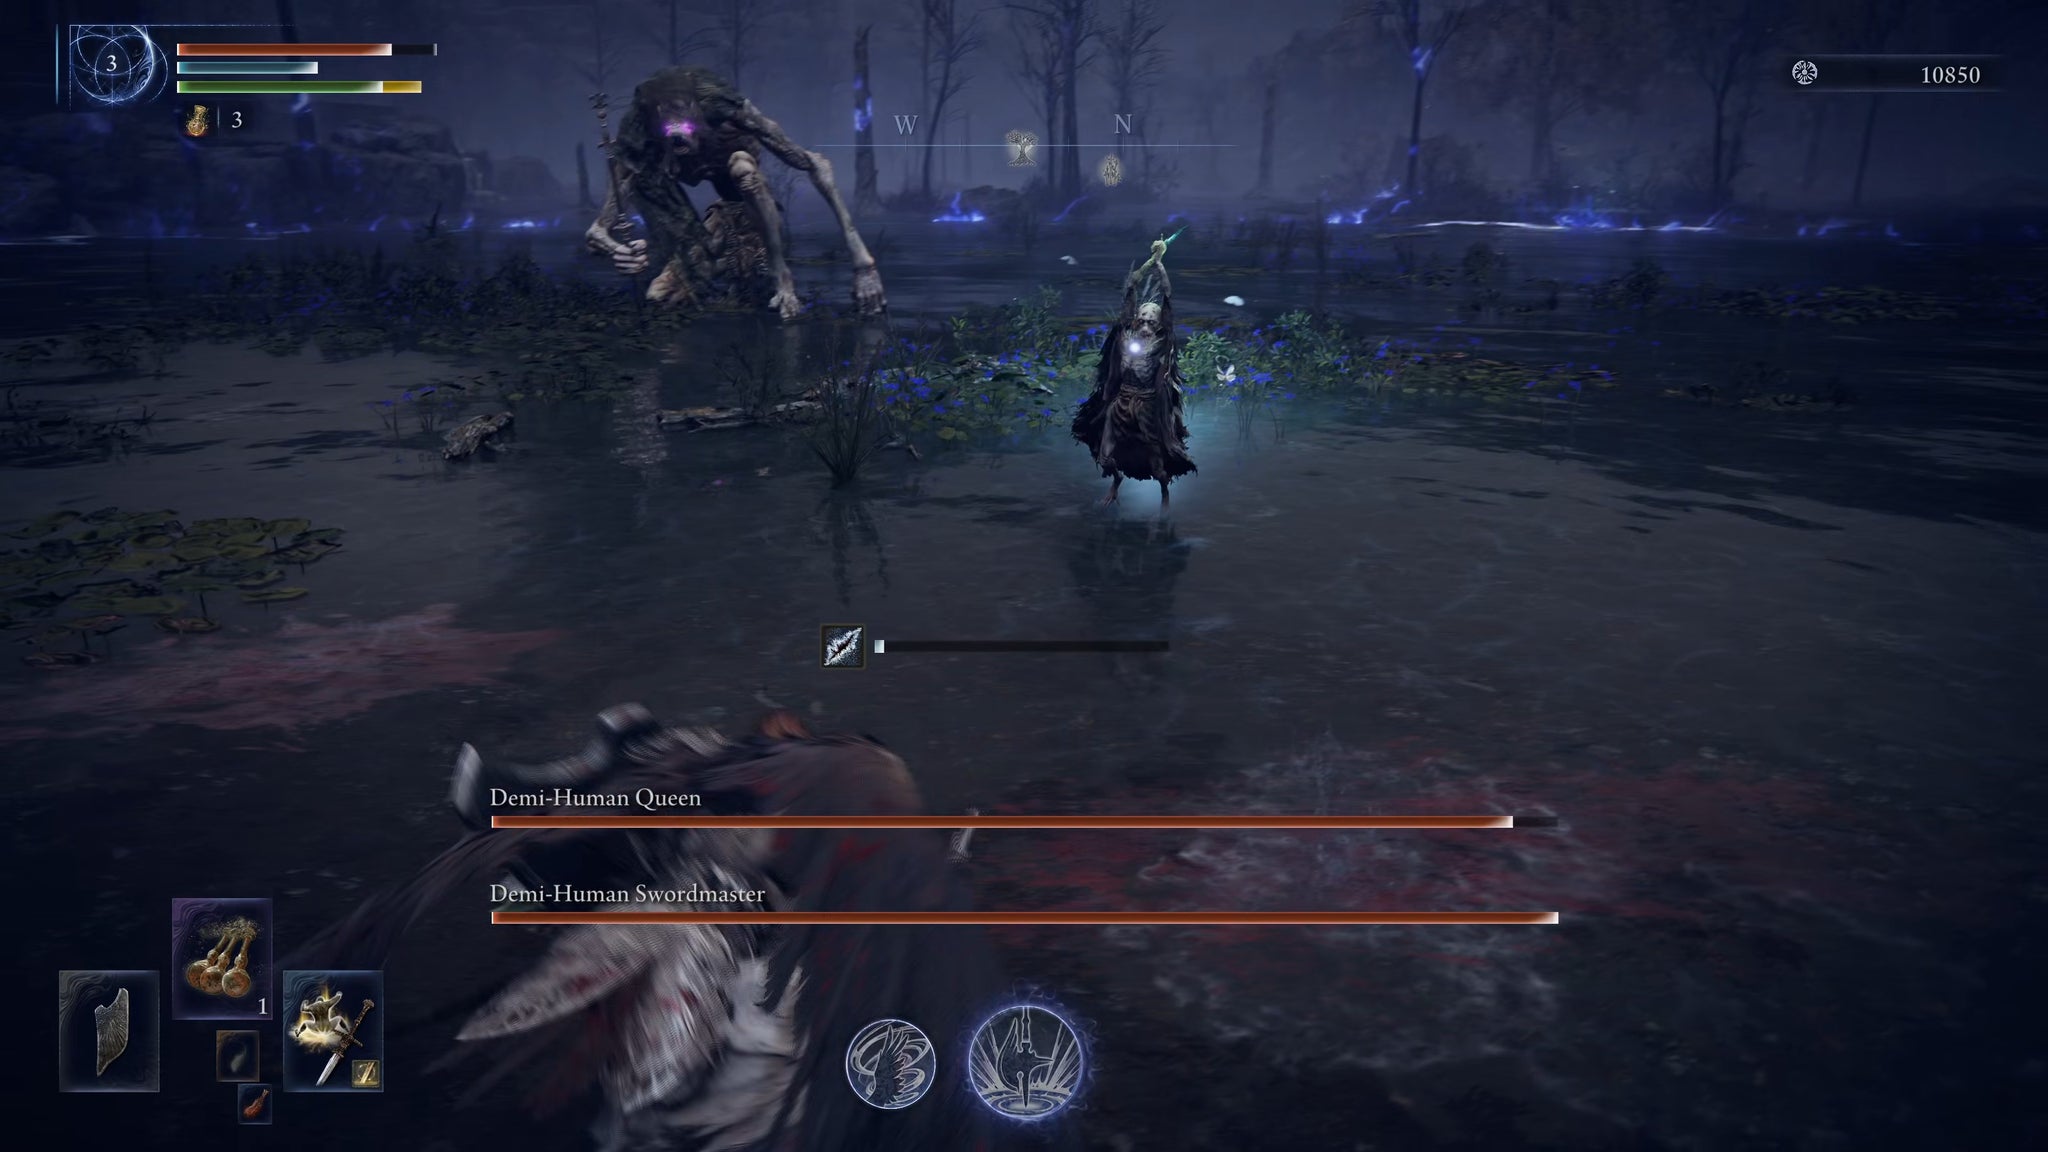
Demi-Human Queen and Demi-Human Swordmaster
Image credit: Rock Paper Shotgun/Bandai Namco
Type
Night 1 Boss
Expeditions
Tricephalos, Night Aspect
Battlefield Commander
Image credit: Rock Paper Shotgun/Bandai Namco
Type
Night 1 Boss
Expeditions
Sentient Pest, Night Aspect
Centipede Demon
Image credit: Rock Paper Shotgun/Bandai Namco
Type
Night 1 Boss
Expeditions
Sentient Pest, Equilibrious Beast, Night Aspect
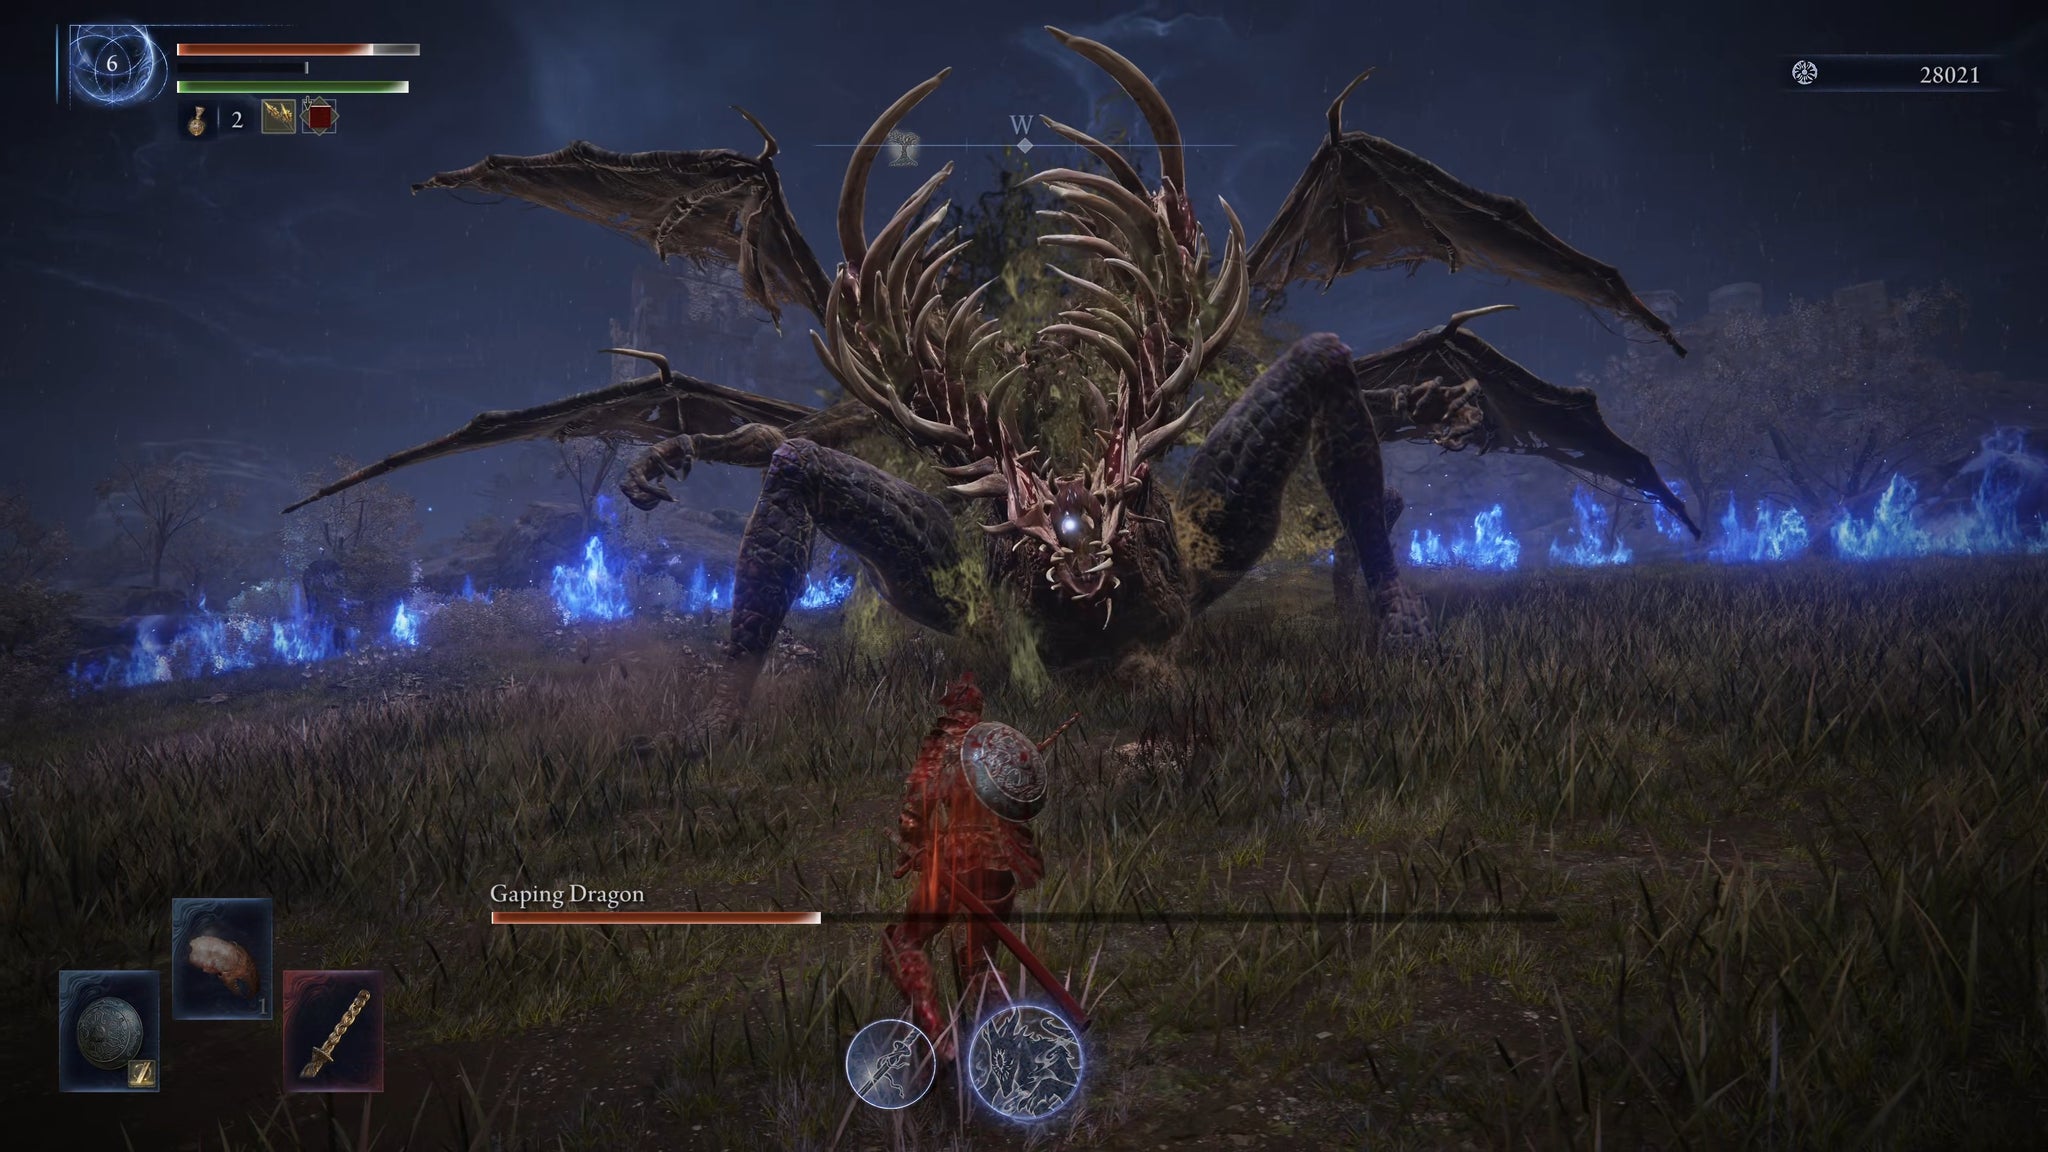
Gaping Dragon
Image credit: Rock Paper Shotgun/Bandai Namco
Type
Night 1 Boss
Expeditions
Augur, Darkdrift Knight, Night Aspect
Grafted Monarch
Image credit: Rock Paper Shotgun/Bandai Namco
Type
Night 1 Boss
Expeditions
Augur, Fissure In The Fog, Night Aspect
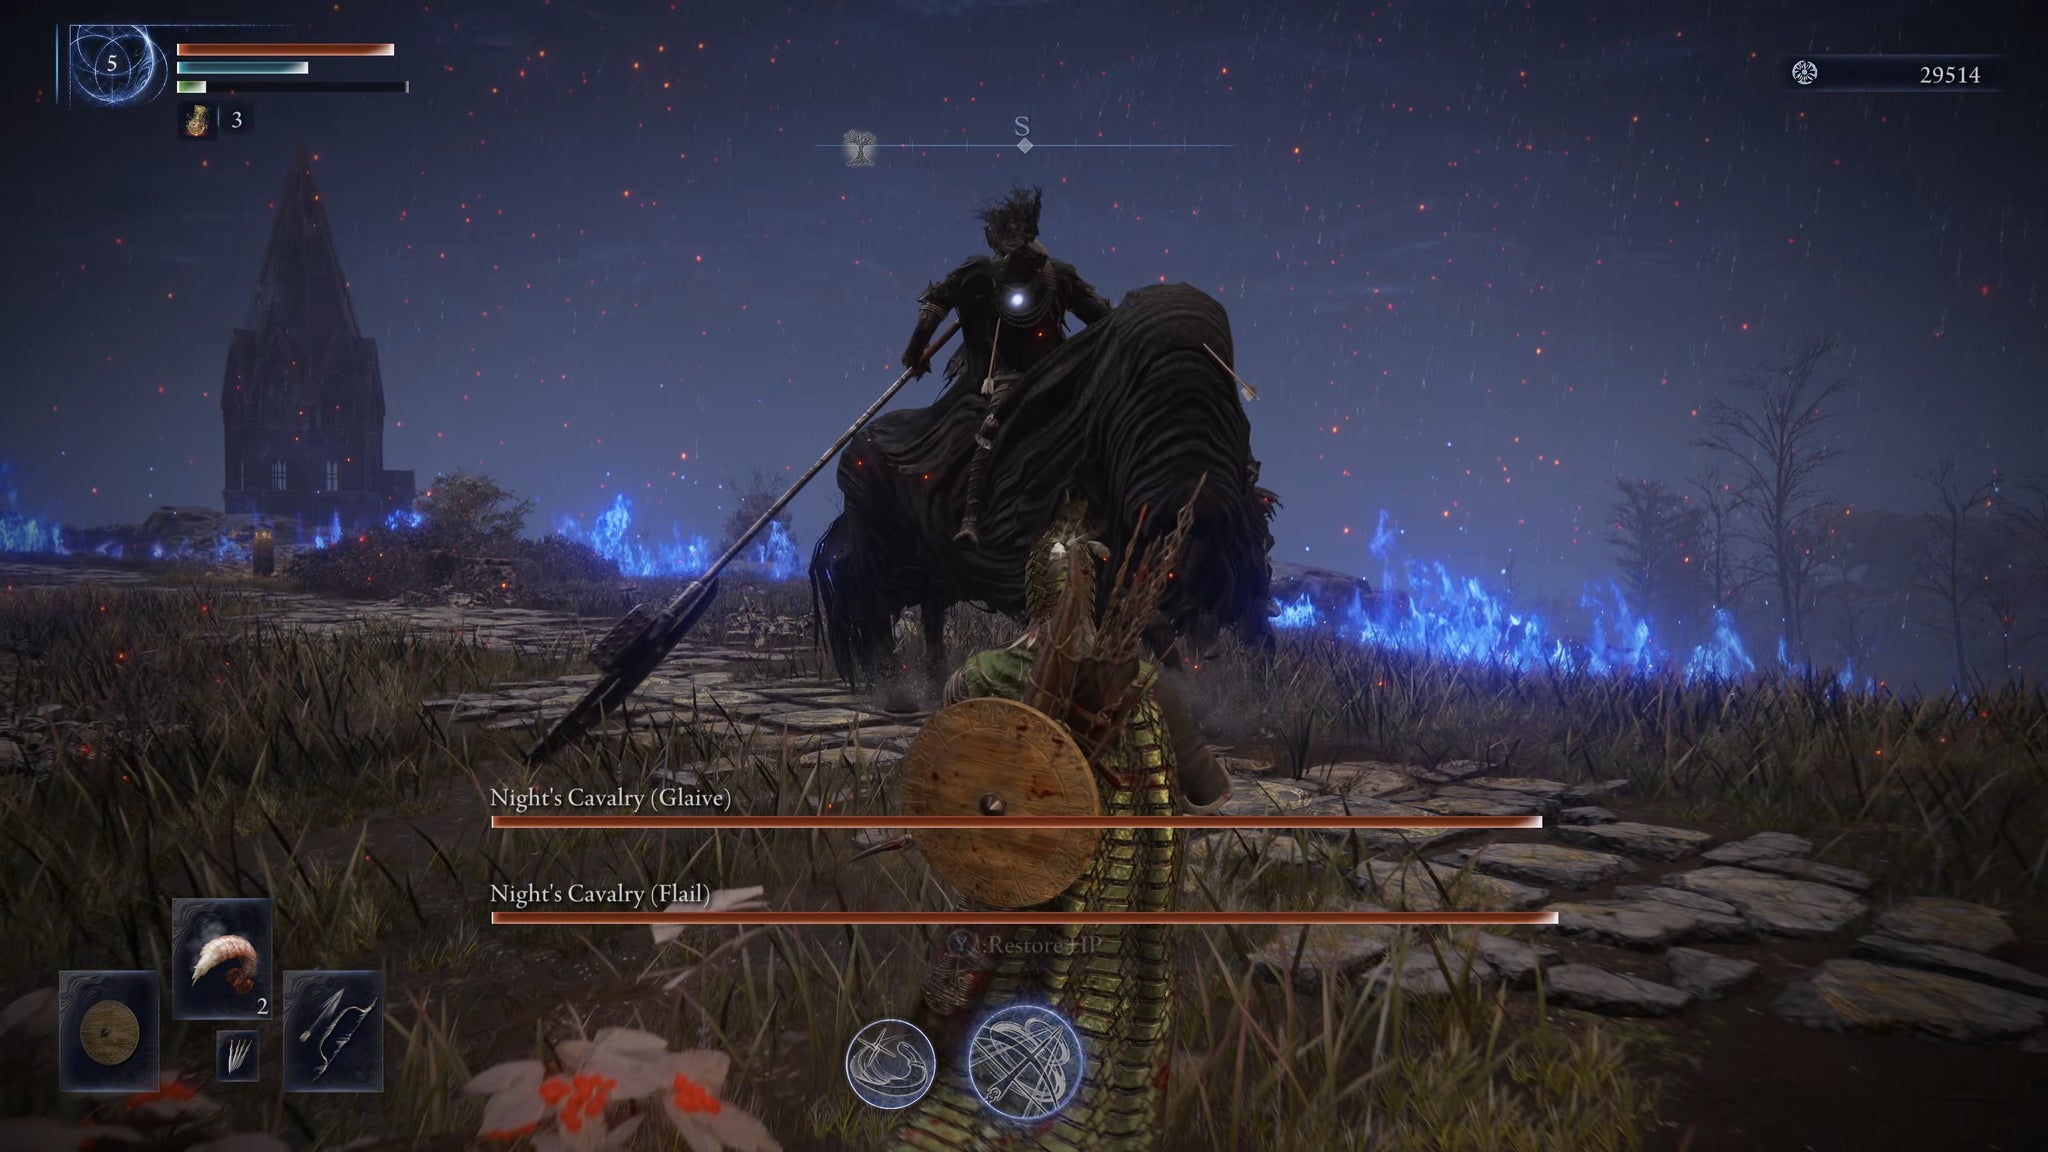
Night's Cavalry x2
Image credit: Rock Paper Shotgun/Bandai Namco
Type
Night 1 Boss
Expeditions
Gaping Jaw, Darkdrift Knight, Night Aspect
Royal Revenant
Image credit: Rock Paper Shotgun/Bandai Namco
Type
Night 1 Boss
Expeditions
Equilibrious Beast, Darkdrift Knight, Night Aspect
Smelter Demon
Image credit: Rock Paper Shotgun/Bandai Namco
Type
Night 1 Boss
Expeditions
Fissure In The Fog, Night Aspect
Tibia Mariner and Those Who Live In Death
Image credit: Rock Paper Shotgun/Bandai Namco
Type
Night 1 Boss
Expeditions
Sentient Pest, Equilibrious Beast, Fissure In The Fog, Night Aspect
The Duke's Dear Freja
Image credit: Rock Paper Shotgun/Bandai Namco
Type
Night 1 Boss
Expeditions
Equilibrious Beast, Fissure In The Fog, Night Aspect
Ulcerated Tree Spirit
Image credit: Rock Paper Shotgun/Bandai Namco
Type
Night 1 Boss
Expeditions
Sentient Pest, Fissure In The Fog, Night Aspect
Valiant Gargoyle
Image credit: Rock Paper Shotgun/Bandai Namco
Type
Night 1 Boss
Expeditions
Gaping Jaw, Darkdrift Knight, Night Aspect
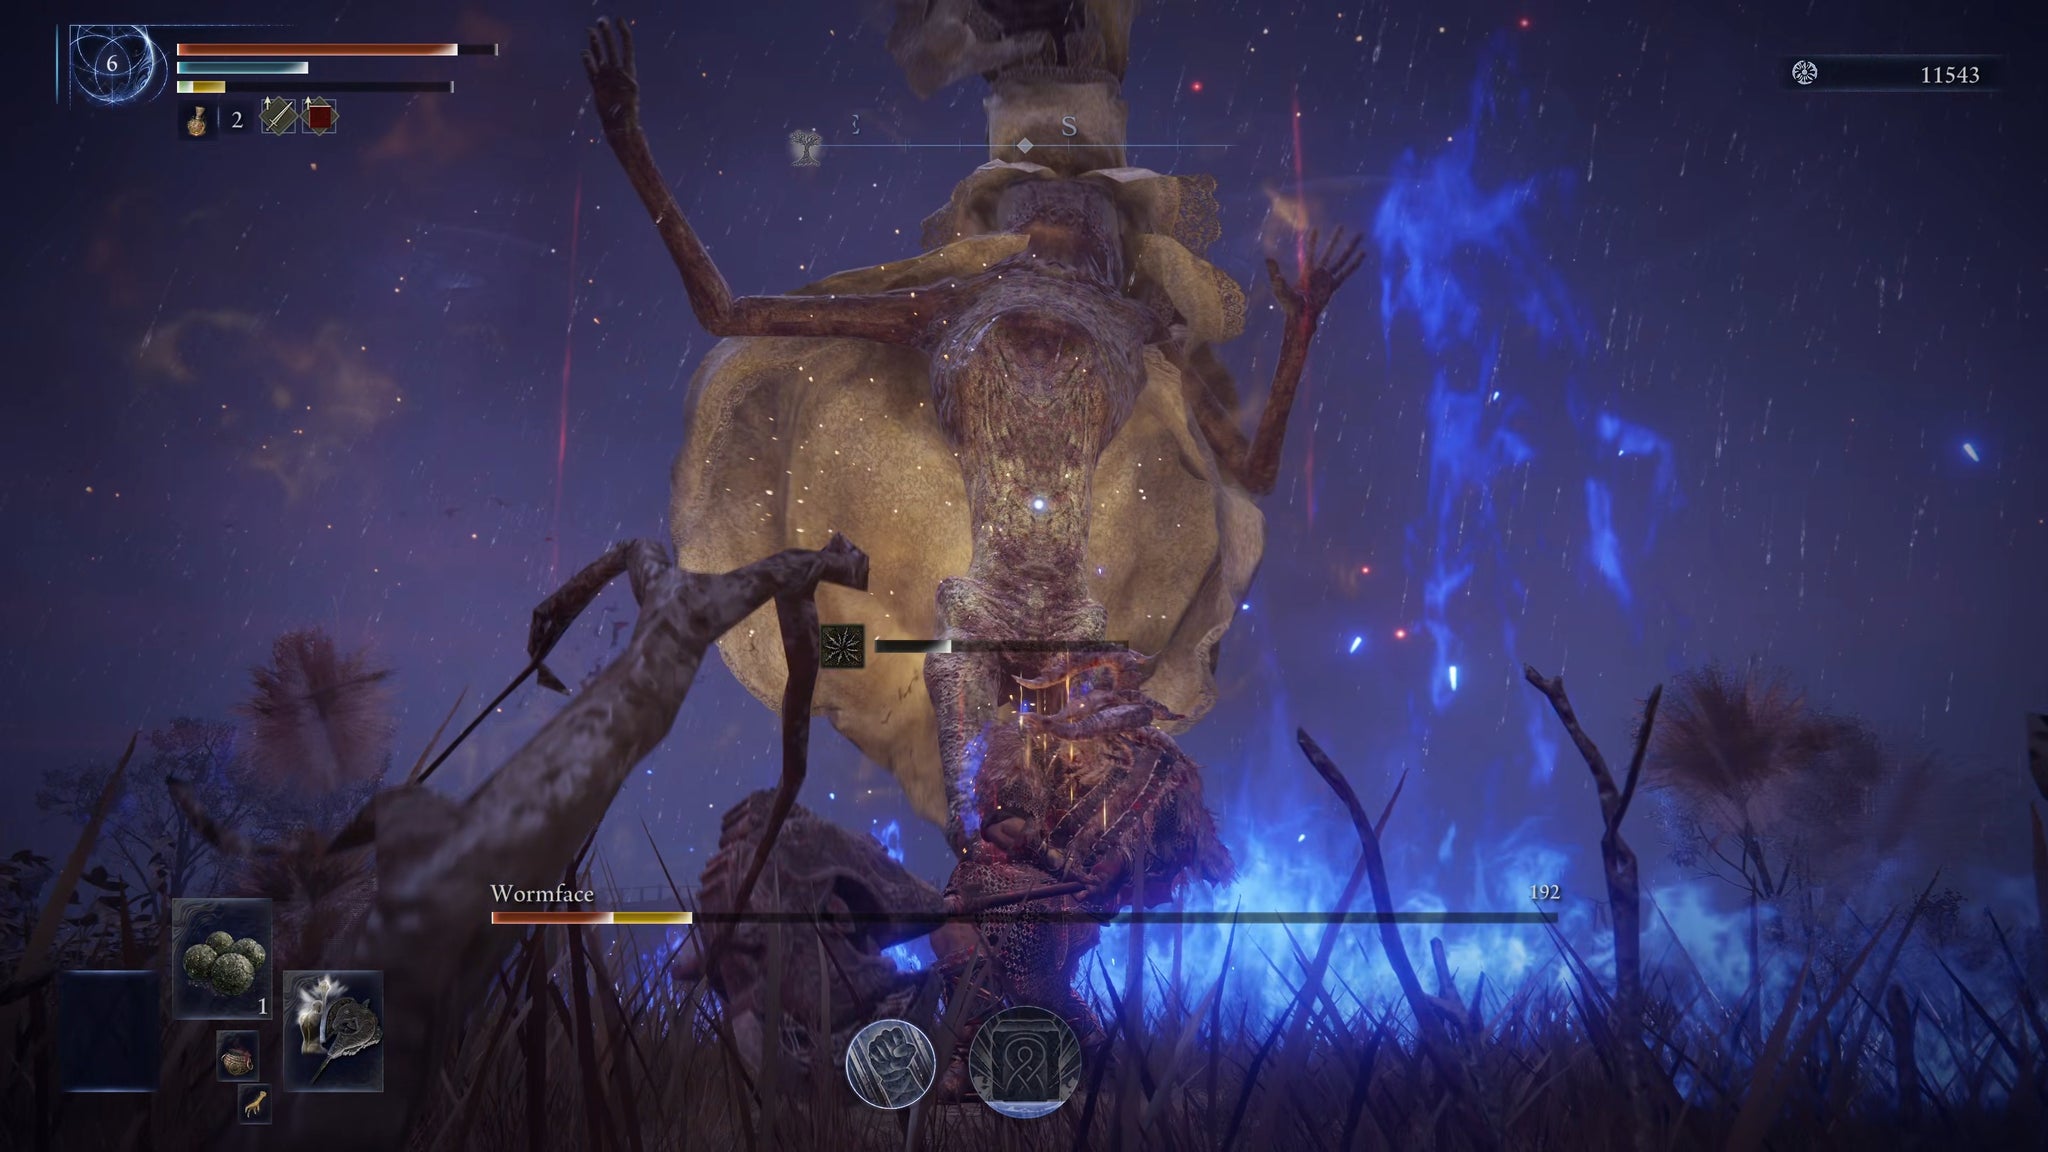
Wormface
Image credit: Rock Paper Shotgun/Bandai Namco
Type
Night 1 Boss
Expeditions
Gaping Jaw, Augur, Darkdrift Knight, Night Aspect
Demon in Pain and Demon from Below (The Forsaken Hollows)
Image credit: Rock Paper Shotgun/Bandai Namco
Type
Night 1 Boss
Expeditions
Balancers
Curseblade and Divine Beast Warrior (The Forsaken Hollows)
Image credit: Rock Paper Shotgun/Bandai Namco
Type
Night 1 Boss
Expeditions
Balancers
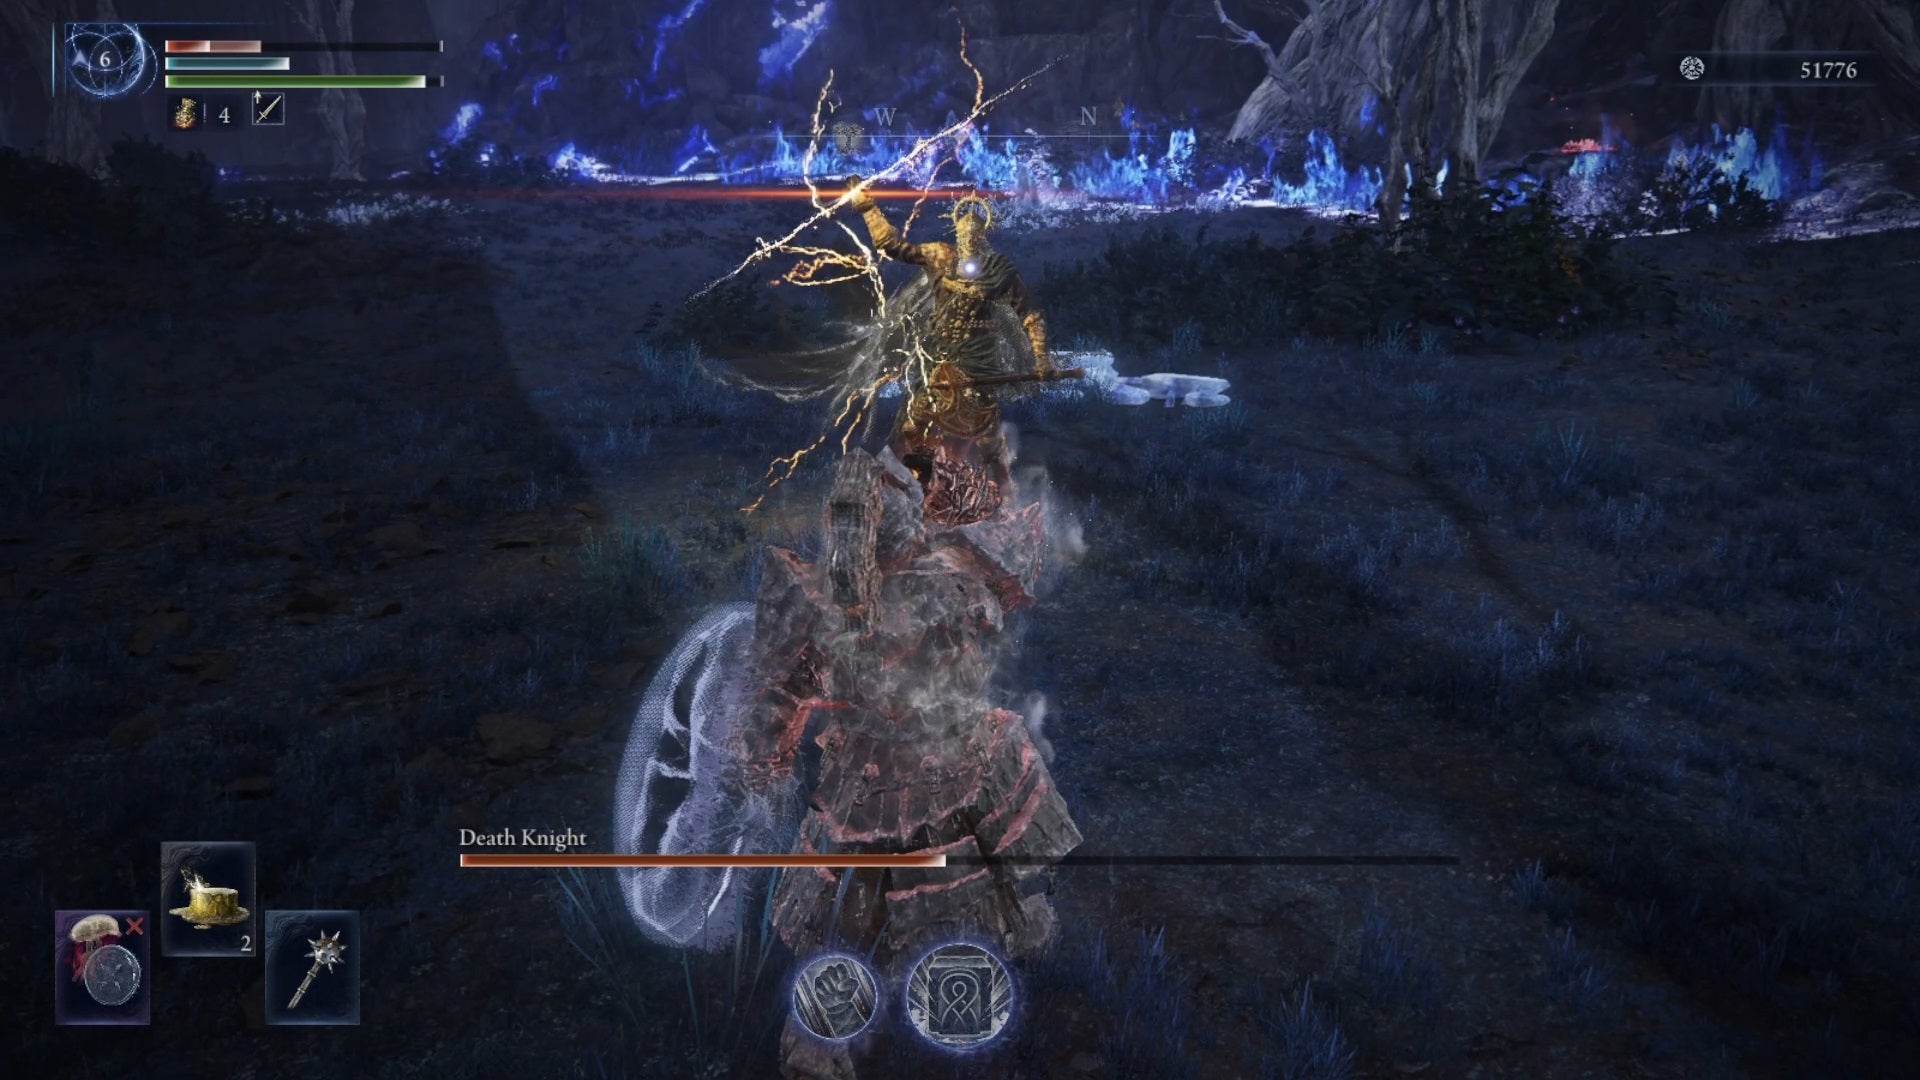
Death Knights
Image credit: IGN/Bandai Namco
Type
Night 1 Boss
Expeditions
Dreglord
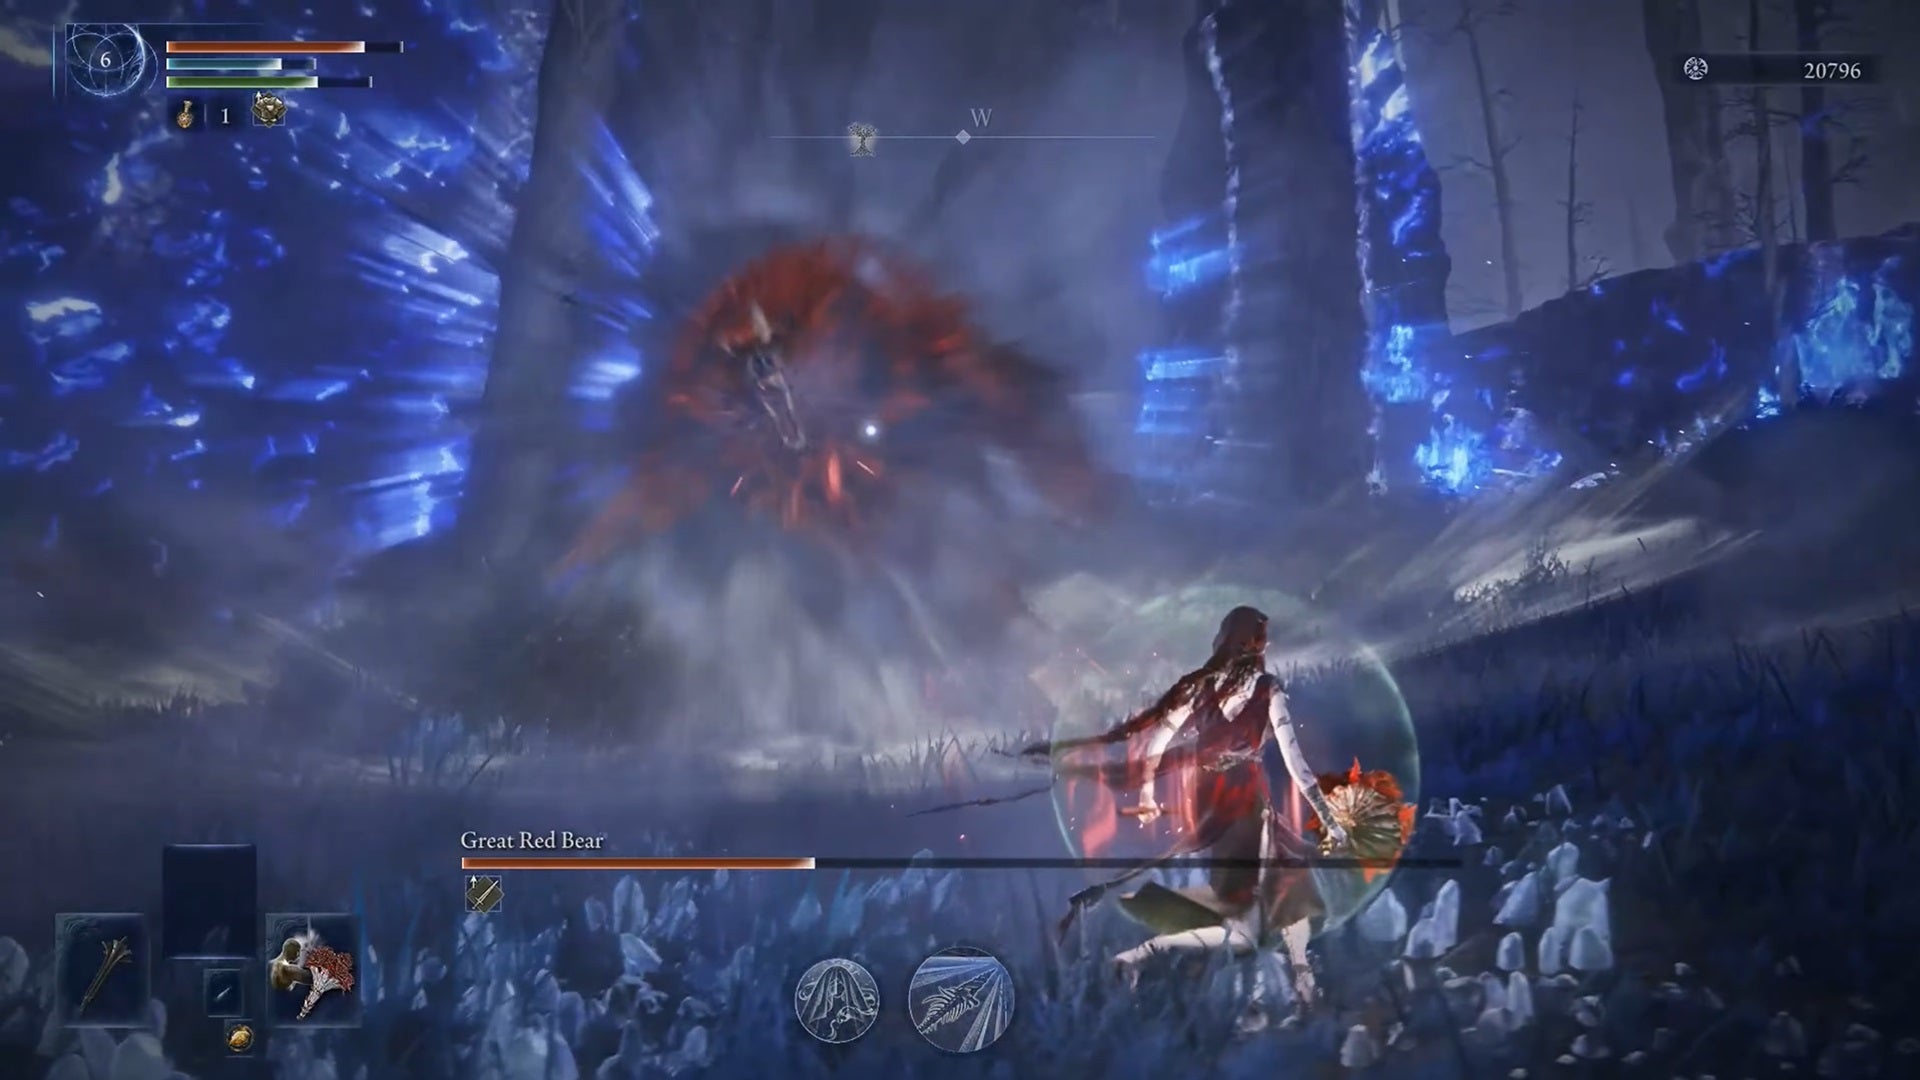
Giant Red Bear
Image credit: Rock Paper Shotgun/Bandai Namco
Type
Night 1 Boss
Expeditions
Dreglord
All Night 2 bosses
Fell Omen
Image credit: Rock Paper Shotgun/Bandai Namco
Type
Night 2 Boss
Expeditions
Tricephalos, Night Aspect
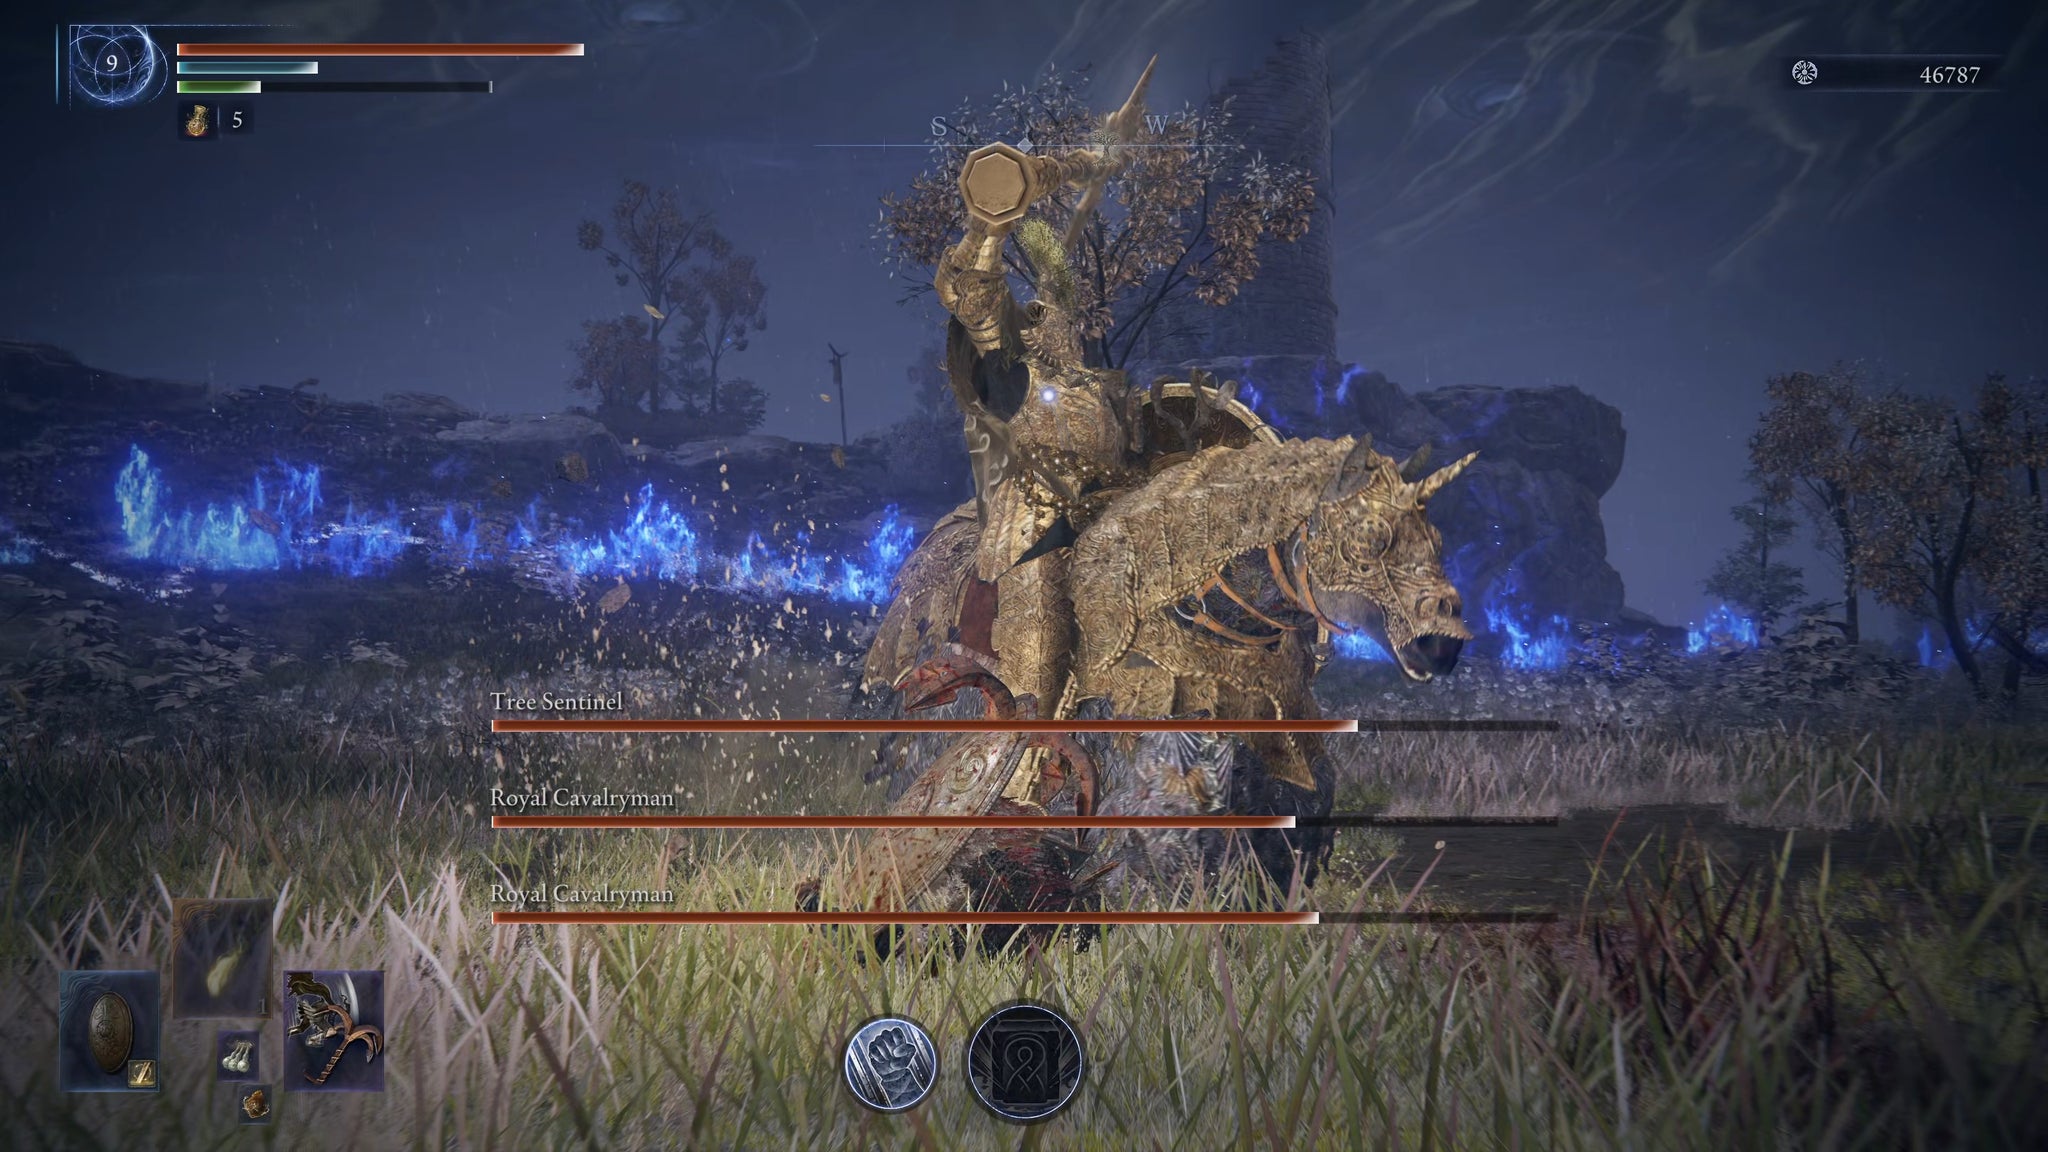
Tree Sentinel and Royal Cavalrymen
Image credit: Rock Paper Shotgun/Bandai Namco
Type
Night 2 Boss
Expeditions
Tricephalos, Augur, Night Aspect
Ancient Dragon
Image credit: Rock Paper Shotgun/Bandai Namco
Type
Night 2 Boss
Expeditions
Gaping Jaw, Night Aspect
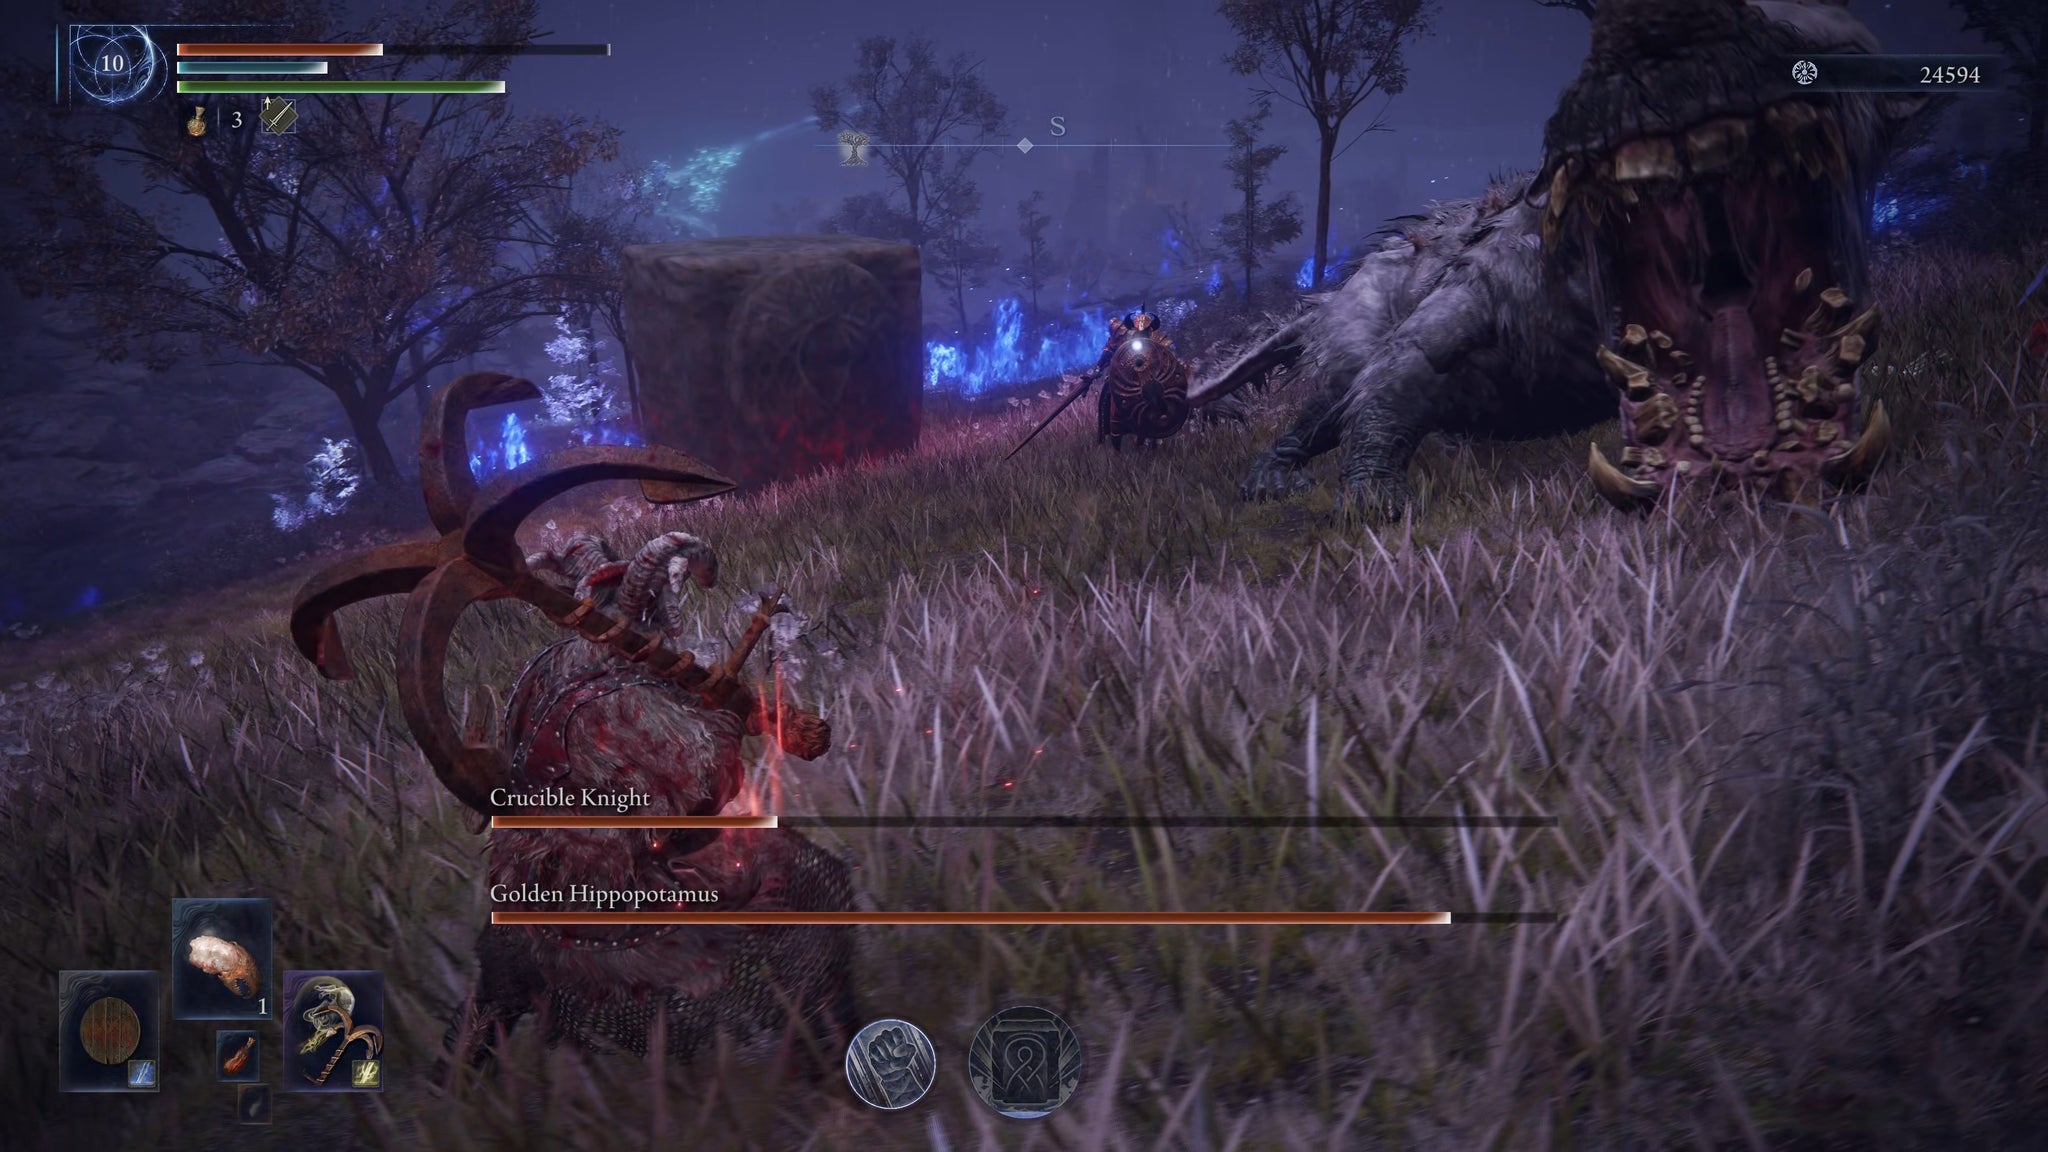
Crucible Knight and Golden Hippopotamus
Image credit: Rock Paper Shotgun/Bandai Namco
Type
Night 2 Boss
Expeditions
Gaping Jaw, Equilibrious Beast, Night Aspect
Dancer Of The Boreal Valley
Image credit: Rock Paper Shotgun/Bandai Namco
Type
Night 2 Boss
Expeditions
Fissure In The Fog, Night Aspect
Death Rite Bird
Image credit: Rock Paper Shotgun/Bandai Namco
Type
Night 2 Boss
Expeditions
Equilibrious Beast, Night Aspect
Draconic Tree Sentinel
Image credit: Rock Paper Shotgun/Bandai Namco
Type
Night 2 Boss
Expeditions
Sentient Pest, Fissure In The Fog, Night Aspect
Full-Grown Fallingstar Beast
Image credit: Rock Paper Shotgun/Bandai Namco
Type
Night 2 Boss
Expeditions
Augur, Night Aspect
Godskin Duo
Image credit: Rock Paper Shotgun/Bandai Namco
Type
Night 2 Boss
Expeditions
Equilibrious Beast, Fissure In The Fog, Night Aspect
Great Wyrm
Image credit: Rock Paper Shotgun/Bandai Namco
Type
Night 2 Boss
Expeditions
Sentient Pest, Night Aspect
Nameless King
Image credit: Rock Paper Shotgun/Bandai Namco
Type
Night 2 Boss
Expeditions
Darkdrift Knight, Night Aspect
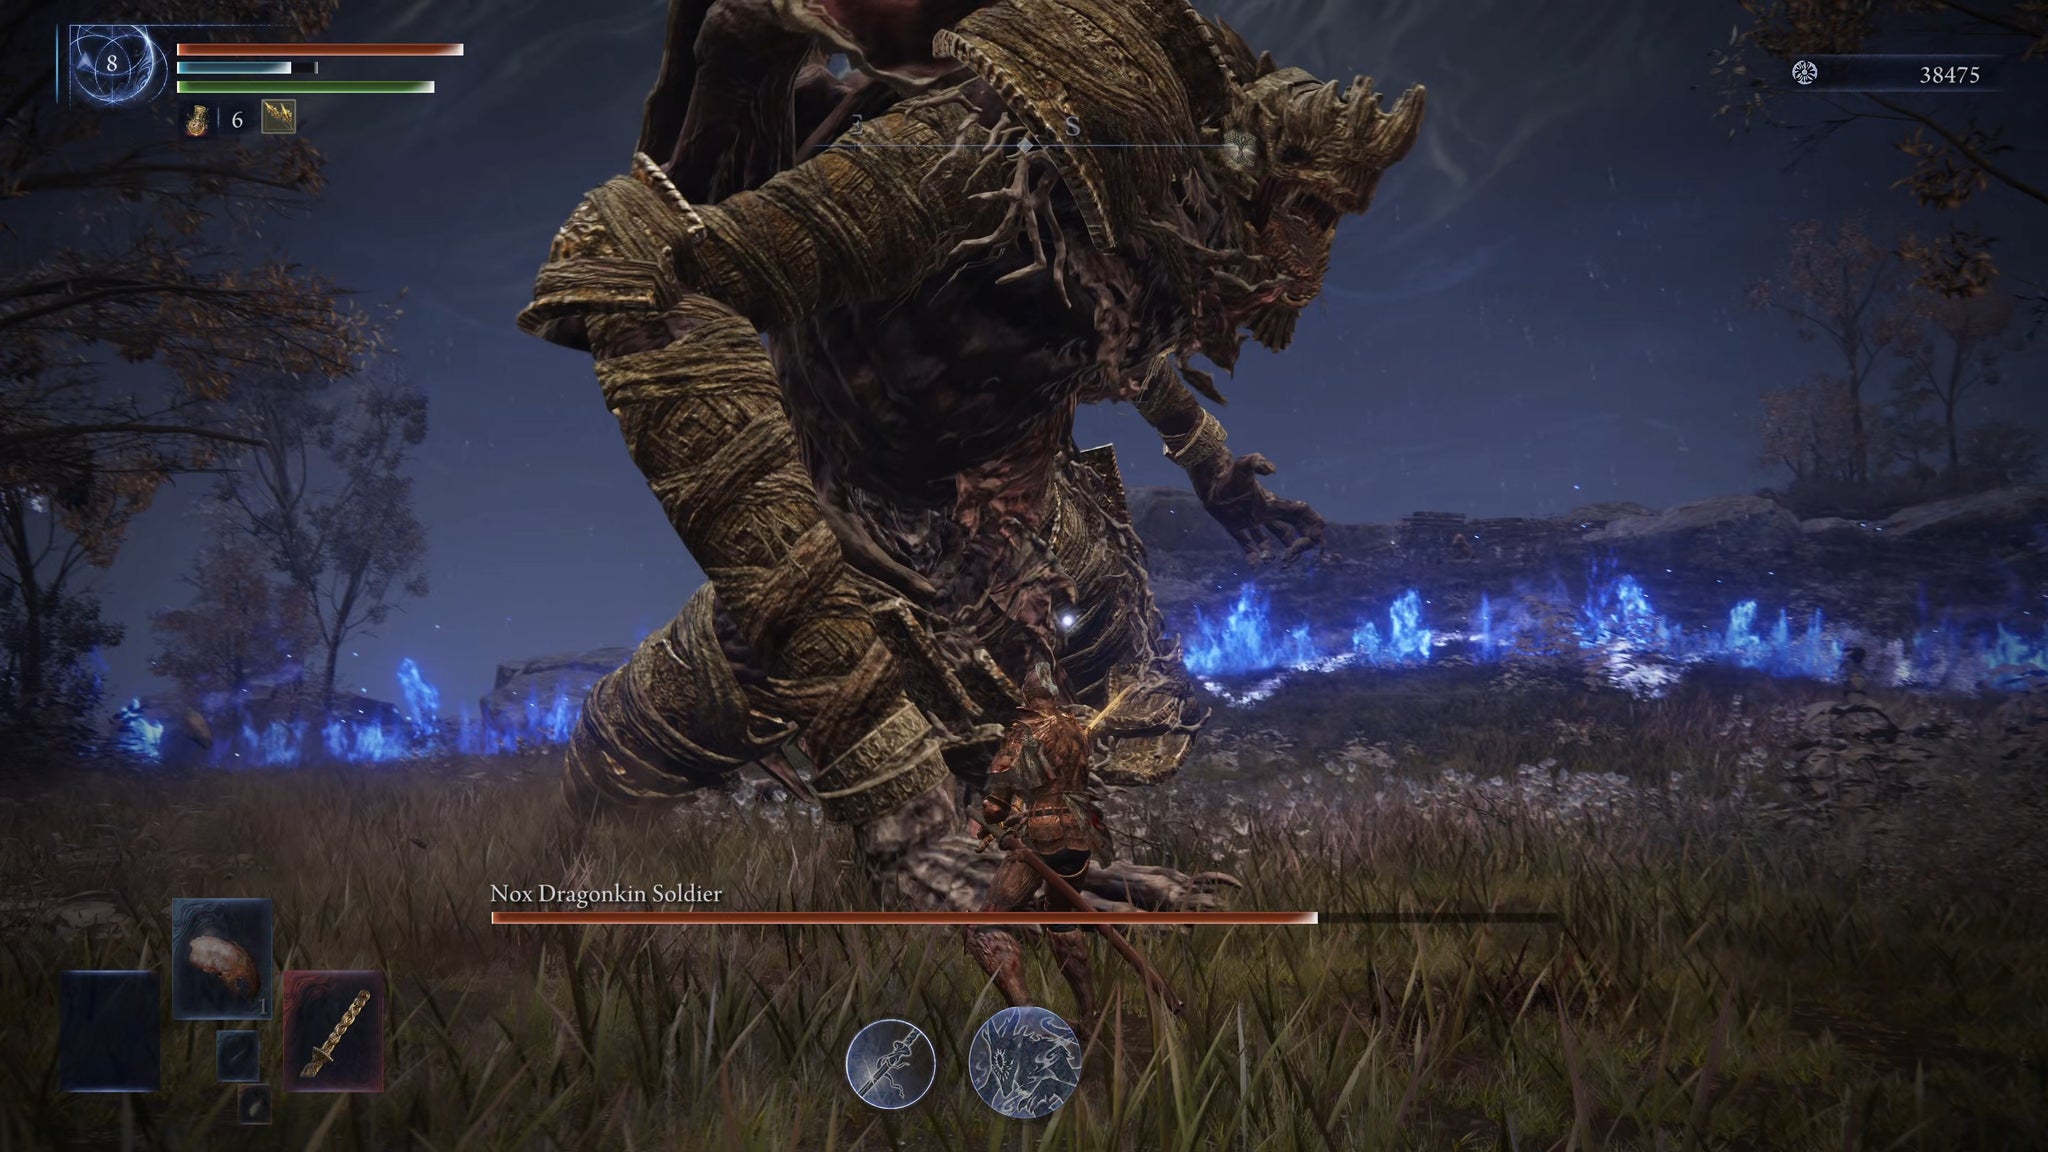
Nox Dragonkin Soldier
Image credit: Rock Paper Shotgun/Bandai Namco
Type
Night 2 Boss
Expeditions
Sentient Pest, Darkdrift Knight, Night Aspect
Outland Commander
Image credit: Rock Paper Shotgun/Bandai Namco
Type
Night 2 Boss
Expeditions
Gaping Jaw, Darkdrift Knight, Night Aspect
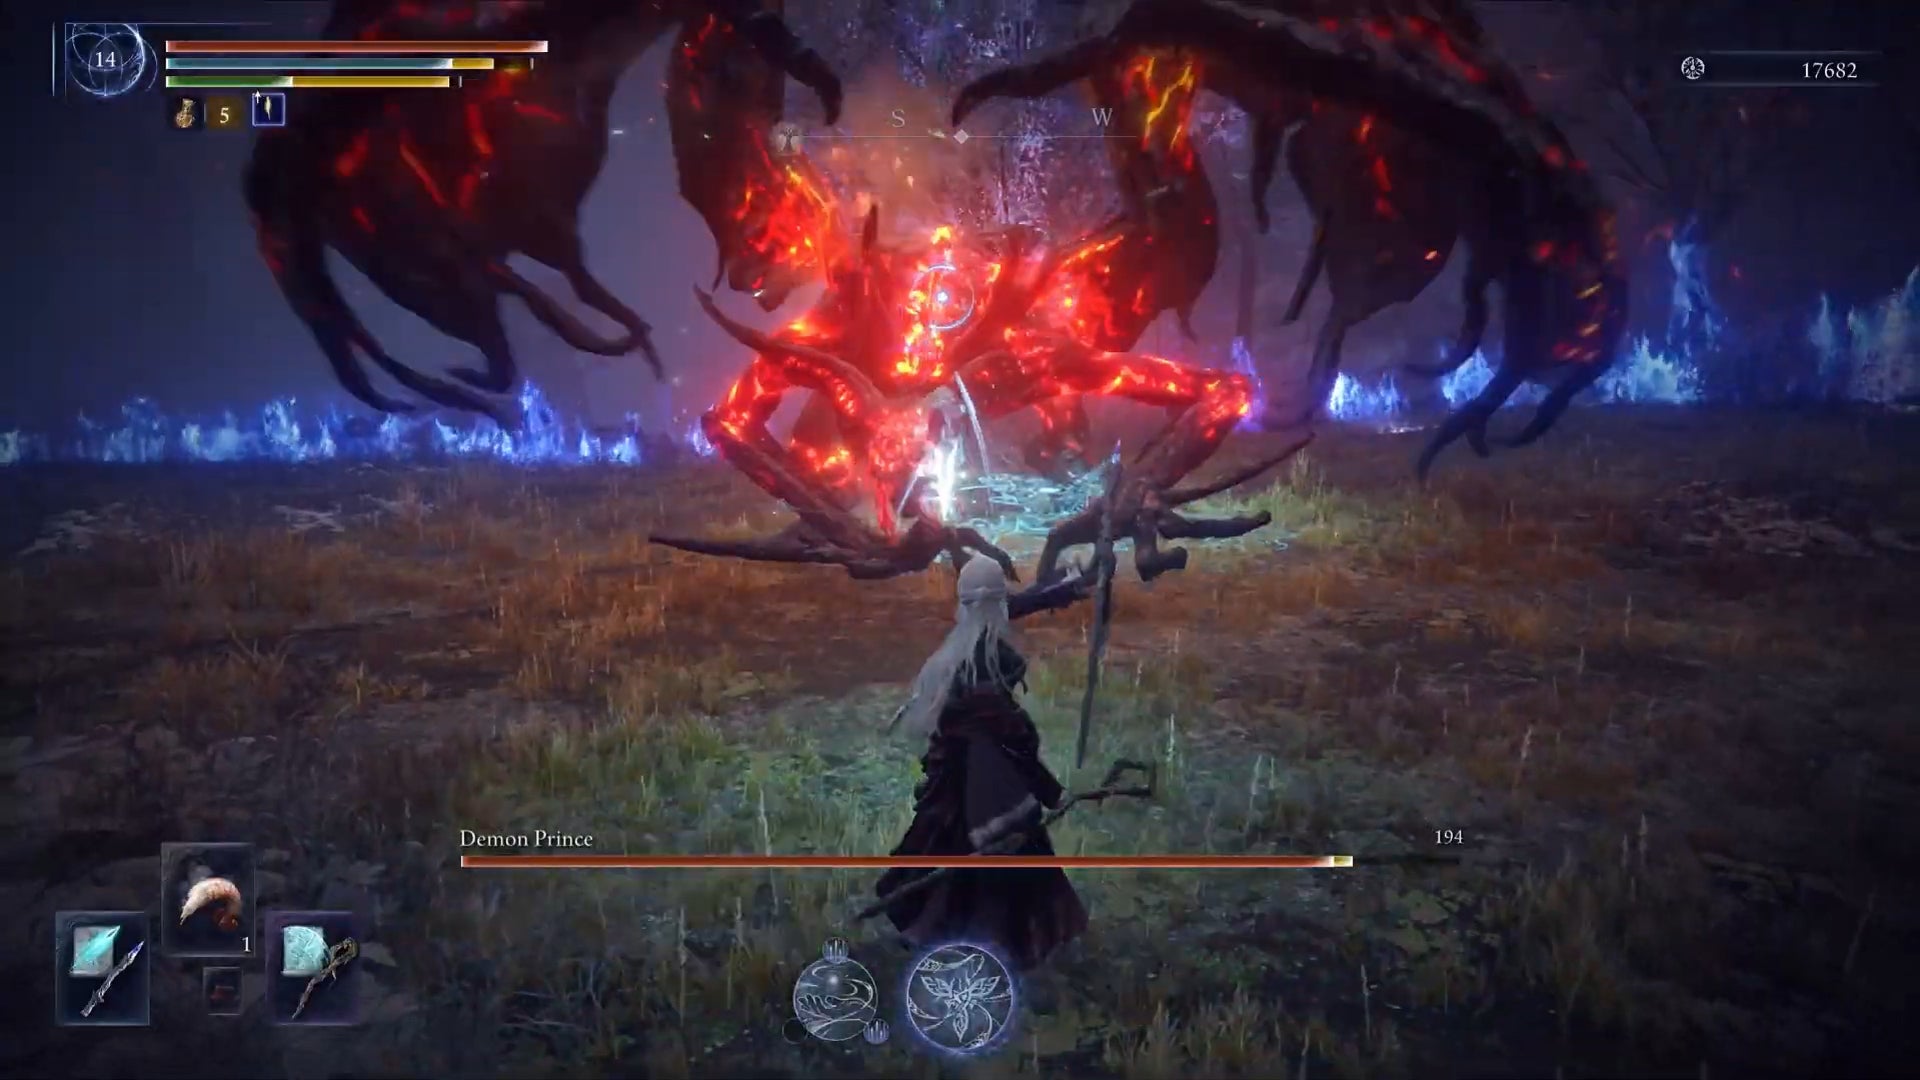
Demon Prince
Image credit: Rock Paper Shotgun/Bandai Namco
Type
Night 2 Boss
Expeditions
Balancers
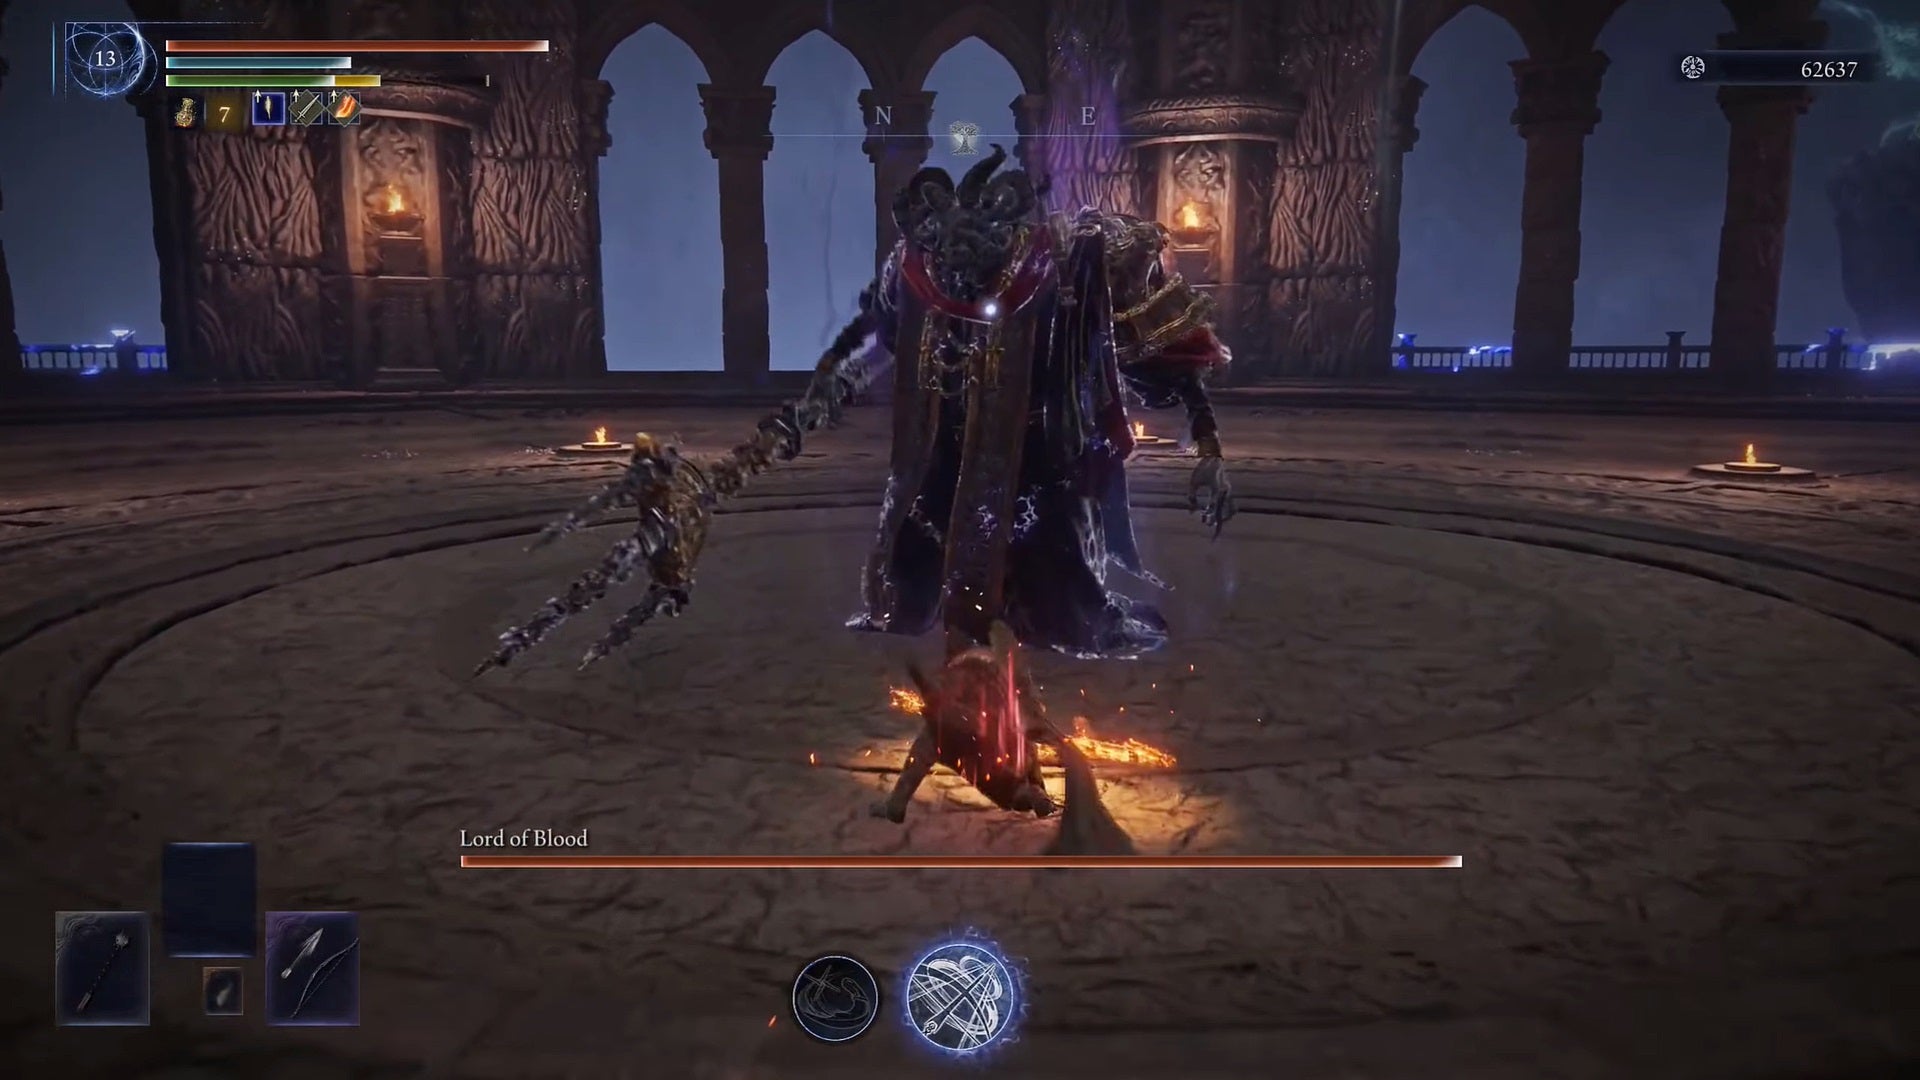
Mohg, Lord of Blood
Image credit: Rock Paper Shotgun/Bandai Namco
Type
Night 2 Boss
Expeditions
Balancers
Knight Artorias
Image credit: IGN/Bandai Namco
Type
Night 2 Boss
Expeditions
Dreglord
Divine Beast Dancing Lion
Image credit: Rock Paper Shotgun/Bandai Namco
Type
Night 2 Boss
Expeditions
Dreglord
If you've made it all the way to the end of this list, congratulations - you're one dedicated Nightfarer. To give yourself the greatest chance of success against each of these bosses, why not take this opportunity to check out our guides on the best solo character in Nightreign, as well as our overall best Nightreign character tier list? And if you find a boss that we haven't yet added to our list, let us know in the comments below!